Skip to content
Add as Preferred Source

file transfer

10 posts with the tag "file transfer"

Blober Path Templates: Organize Files During Transfer

Complete guide to organizing destination paths with Blober path templates

What Path Templating Means in Blober

Section titled "What Path Templating Means in Blober"

A file transfer normally answers two questions: what should move, and where should it go. Blober adds a third: what destination path should each file receive?

That matters because copying a disorganized source without thinking about paths creates a disorganized backup. A bucket containing clip001.mp4, invoice.pdf, DSC_4821.ARW, and years of nested project folders can be copied exactly as it is, filtered to a useful subset, or rearranged into a new structure while it moves.

Blober path templates are destination rules. They combine ordinary folder text with variables such as {file_ext}, {file_created_date}, and {filename}. Blober evaluates the template separately for every matching file and creates that file's relative destination path.

media/{file_ext}/{file_created_date}/{filename}

For a video named GX015742.MP4 with a reported creation date of July 18, 2026, the relative result is:

media/mp4/2026-07-18/GX015742.MP4

If the selected destination folder is studio-archive, the complete destination becomes:

studio-archive/media/mp4/2026-07-18/GX015742.MP4

No separate organizer, database, script, or integration platform is involved. The organization happens as part of the copy or move.

Path setup spans three numbered sections in the workflow editor. For the step-by-step app reference, see the Workflows guide.

Choose the source provider, authenticate it, then click Browse Files and Folders. You can select individual files, multiple files, folders, or an entire storage root when the provider supports it.

If at least one folder is selected, Advanced Filters (Optional) appears. It can restrict files by:

  • File extension
  • Created-date range
  • File-size range
  • Whether subdirectories are included
  • Include glob pattern
  • Exclude glob pattern

Source selection defines where Blober looks. Filters define which files inside that scope qualify.

Choose the destination provider and Select Destination Folder. Once the destination is complete, expand Advanced Path Template (Optional).

The Template Pattern field is appended beneath the destination folder. The variable list below the field can be clicked to add placeholders. Blober also shows an example output while the pattern is being edited.

The preview shows active filters, the destination template, source items, and expected destination paths. This is where a path rule becomes understandable before files move.

Do not treat preview as decoration. A template can deliberately flatten a hierarchy, split files into new folders, or rename every destination. Preview is the check that the rule means what you think it means.

Leave Advanced Path Template empty and keep Include Subdirectories enabled. Blober automatically retains the relative directory structure beneath the selected folder.

Selected folder:

Projects/
Client-A/
Final/
film.mp4

Destination result:

Client-A/Final/film.mp4

This is the right mode for a faithful backup. You do not need a template merely because templates exist.

Leave the template empty and disable Include Subdirectories. Files are placed by filename without their relative source folders.

This can be useful when collecting documents into one destination, but duplicate filenames from different source folders may target the same destination name. Preview the result carefully.

Enter a path template. The template takes control of the relative destination path. Automatic subdirectory preservation no longer adds the source hierarchy behind the scenes.

That rule is easy to miss:

{file_created_date}/{filename}

organizes by date but does not preserve source subfolders.

To retain relative source folders inside a custom path, explicitly include {file_dir}:

{file_created_date}/{file_dir}/{filename}

Read the dedicated {file_dir} guide before relying on it. Its value depends on whether a file or folder was selected and how deeply the file sits beneath that selected folder.

VariableMeaningExample
{current_date}Current processing date2026-07-20
{current_datetime}Current processing date and time2026-07-20_14-30-00
{file_created_date}Source-reported creation date2026-07-18
{file_created_datetime}Source-reported creation date and time2026-07-18_09-15-30
{file_modified_date}Source-reported modification date2026-07-19
{file_modified_datetime}Source-reported modification date and time2026-07-19_16-45-22
{file_accessed_date}Source-reported access date2026-07-20
{file_accessed_datetime}Source-reported access date and time2026-07-20_12-00-15
{filename}Complete filenameGX015742.MP4
{filename_no_ext}Filename without extensionGX015742
{file_ext}Extension without the dotmp4
{file_size}Exact size in bytes1572864
{file_size_mb}Exact size in MB, rounded to two decimals1.50
{file_dir}Relative directory beneath the selected folderDay-2/Camera-A

These are deterministic metadata substitutions, not AI classifications. Blober does not inspect an image and infer a client, location, or subject. If Client-A is not present in a selected path, filename, or available variable, a template cannot invent it.

Suppose the destination folder is:

Archive

The selected source folder is:

Shoots

and one matching file is:

Shoots/Wedding-2026/Camera-A/DSC_4821.ARW

For that file:

{file_dir} = Wedding-2026/Camera-A
{filename} = DSC_4821.ARW
{filename_no_ext} = DSC_4821
{file_ext} = arw

This template:

originals/{file_dir}/{filename}

produces:

Archive/originals/Wedding-2026/Camera-A/DSC_4821.ARW

This template:

by-type/{file_ext}/{filename}

produces:

Archive/by-type/arw/DSC_4821.ARW

The second rule intentionally discards the source folder hierarchy because it does not contain {file_dir}.

Variables and Filters Solve Different Problems

Section titled "Variables and Filters Solve Different Problems"

Filters decide whether a file participates. Variables decide where a participating file lands.

For example:

Include pattern: **/*.{jpg,png}
Exclude pattern: **/thumbnails/**
Template: images/{file_created_date}/{filename}

The include pattern rejects non-image extensions. The exclude pattern removes thumbnails. The path template organizes the remaining files by creation date.

Keeping those concepts separate makes workflows easier to reason about:

  1. Select a source boundary.
  2. Filter the files inside it.
  3. Build the destination path for each match.
  4. Preview.
  5. Copy or move.

Path templates use metadata supplied by the source provider or filesystem. Not every backend describes dates and sizes in exactly the same way.

  • A cloud object may expose upload or modification time rather than the camera's original capture time.
  • Access time may be unavailable or unhelpful on object storage.
  • Unknown file size becomes NO_SIZE or NO_SIZE_MB when used in a template.
  • {file_size_mb} creates an exact numeric folder such as 142.53; it does not automatically create human categories such as small or large.
  • File extensions come from filenames. A misleading extension is not content inspection.

These limits do not make templates unreliable. They define what the rule can truthfully know. Use preview to inspect real metadata from the selected source.

Use Copy when:

  • Creating a backup
  • Testing a new destination structure
  • Building a second organized library
  • Keeping the source as the working location

Use Move when:

  • The destination has been verified
  • The source should be cleaned up
  • Files are being retired from expensive active storage

A move deletes the source after successful transfer. For any new path rule, run a representative copy first.

Blober can also reorganize between supported locations on the same provider, but source and destination cannot overlap. Do not place a destination inside the selected source tree. Choose a separate folder, bucket, container, or account.

  1. Create a new workflow and choose Copy.
  2. Select one folder containing several levels, file types, and sizes.
  3. Choose a separate destination folder.
  4. Enter {file_ext}/{file_dir}/{filename}.
  5. Inspect every example in Preview & Summary.
  6. Save and run the workflow.
  7. Verify the actual destination before scaling up.

That small test reveals exactly how the source provider reports dates, extensions, sizes, and relative folders. Once the output is correct, the same saved workflow can handle a much larger selection.

Download Blober at blober.io to organize files as they move between cloud storage, object storage, local disks, and network drives.
How to Transfer GoPro Cloud to Google Drive Without ZIP Files

Transfer GoPro Cloud photos and videos directly to Google Drive with Blober

Can You Move GoPro Cloud Files Directly to Google Drive?

Section titled "Can You Move GoPro Cloud Files Directly to Google Drive?"

Yes. Blober connects GoPro Cloud as a source and Google Drive as a destination, then streams each photo or video from one provider to the other. You do not have to select 25 files at a time, wait for ZIP archives, extract them, and upload them again.

This is useful when you want:

  • A second copy outside your GoPro subscription
  • GoPro footage beside other project files in Google Drive
  • Easier sharing with people who already use Google Workspace
  • A way to transfer a library that is too large for manual browser downloads
  • Blober installed on Windows, macOS, or Linux
  • A GoPro Premium or GoPro Plus account with media in GoPro Cloud
  • A Google account with enough available Drive storage
  • Google Drive OAuth credentials configured for Blober

If Google Drive is not connected yet, follow the Google Drive setup guide. The GoPro provider guide explains GoPro login and media selection.

  1. Open Blober and select Workflows in the left navigation.
  2. On the Workflows page, click New Workflow.
  3. Enter a Workflow Name, such as GoPro Cloud to Google Drive.
  4. Enter a Workflow Description that will help you recognize the backup later.
  5. Under Select Action, choose Copy - Duplicate files to destination.

Use Copy, not Move, for a backup. Copy leaves the original media in GoPro Cloud after it reaches Google Drive.

In the numbered 1 Source Configuration panel:

  1. Open Source Type and choose GoPro Cloud.
  2. Under GoPro Account, choose an account you have already connected.
  3. To connect another account, click Add account, then Open GoPro Login.
  4. Sign in to GoPro in the window that opens. Return to the workflow after authentication finishes.

The Refresh button reloads the account list if a newly connected account does not appear immediately.

  1. Click Browse Files and Folders under Select Source.
  2. Use the checkboxes to select the date folders, camera folders, photos, or videos you want to copy.
  3. Click Submit Selection.

Your selections appear in Source Configuration. Use Add More Files and Folders if you need to include another part of the library, or remove an item from the selection list if it should not be copied.

You can also expand Advanced Filters (Optional) to restrict the transfer by file type, creation date, file size, subdirectories, or include/exclude patterns. Leave these settings unchanged to copy everything inside the selected folders.

GoPro media is organized into paths such as:

/2026-01-23/HERO13 Black/videos/GX015742.MP4
/2026-01-23/HERO13 Black/photos/GOPR0001.JPG

The numbered 2 Destination Configuration panel appears after you submit at least one GoPro source selection.

  1. Open Destination Type and choose Google Drive.
  2. Under Google OAuth Credentials, choose the OAuth credentials JSON file created during Google Drive setup.
  3. When the instructions appear beneath the field, click Authorize Google Drive Access.
  4. Sign in to the Google account that will receive the GoPro backup and approve access.
  5. Return to Blober and wait for Authentication successful to appear.

Google Drive has a 750 GB daily upload limit for most accounts. A multi-terabyte GoPro library may therefore take several days even on a fast connection.

Step 5: Choose the Google Drive Folder

Section titled "Step 5: Choose the Google Drive Folder"
  1. Click Browse Folder under Select Destination Folder.
  2. Navigate to the Google Drive folder where the backup should be stored.
  3. Select that folder using its checkbox. Google Drive must have one destination folder for the workflow.
  4. Click Submit Selection.

The chosen folder appears as the Destination Path. You can expand Advanced Path Template (Optional) if you want Blober to build additional paths from variables such as the filename or file date. Leave it closed for a straightforward copy into the selected folder.

The numbered 3 Preview & Summary panel appears when both sides are complete. Check that it shows GoPro media going to the intended Google Drive path.

  1. Review the estimated items and size.
  2. Click Save Workflow.
  3. Wait for Workflow created successfully! before closing the editor.

Saving creates the reusable workflow but does not start a transfer.

Step 7: Run and Monitor the Transfer

Section titled "Step 7: Run and Monitor the Transfer"
  1. Find the new workflow on the Workflows page.
  2. Confirm its card shows GoPro Cloud as the source and Google Drive as the destination.
  3. Click the green Run button.
  4. Blober creates a task and opens the Progress page.

The Progress page shows transferred files, bytes moved, current activity, and individual file results.

Blober runs on your computer, but the files stream from GoPro Cloud to Google Drive rather than being saved as a permanent local copy first. Your credentials remain on your machine, and the media does not pass through Blober's servers.

Authentication sessions can expire during a large transfer. Network interruptions, provider throttling, app restarts, and computer restarts are also normal during multi-day jobs.

Blober stores the task and its per-file progress locally. If the transfer is interrupted:

  1. Reopen Blober.
  2. Return to the existing task on the Progress page.
  3. Resume that task if it was paused. An active pending or running task can be rediscovered after launch.
  4. If GoPro asks you to sign in again, complete the login to obtain a fresh session.

Do not create a replacement workflow or start a new task just to recover from an interruption. The existing task knows which source paths it has already processed; a new task has separate progress state.

Installing a newer Blober version also preserves existing workflows, task history, and task state.

For a deeper explanation, see How Blober Handles Duplicate Files in Long-Running Backups.

How Blober Handles Individual File Errors

Section titled "How Blober Handles Individual File Errors"

During a large library transfer, GoPro may occasionally list a file or part that is not ready to download or is temporarily unavailable.

Blober records the affected item and continues with the rest of the library instead of allowing one unavailable file to block every file that follows.

Review skipped and failed items when the task finishes. A skipped item remains in GoPro Cloud and can be checked there or retried later when it becomes available.

Will a Restart Create Duplicate Files in Google Drive?

Section titled "Will a Restart Create Duplicate Files in Google Drive?"

Not when you continue the same task. Completed source paths are remembered within that task and are not processed again.

A deliberate rerun of the workflow creates a new task. Google Drive allows multiple files with the same name, and the Local destination's Filename deduplication option does not apply to Google Drive. If a transfer stops, resume its original task rather than starting over.

GoPro Cloud to Google Drive vs Manual Download

Section titled "GoPro Cloud to Google Drive vs Manual Download"
StepManual GoPro downloadBlober workflow
Select mediaSmall browser batchesIndividual folders or entire storage
Download formatZIP archivesOriginal media stream
Local extractionRequiredNot required
Google Drive uploadSeparate manual stepSame workflow
Resume after interruptionRepeat manual workContinue the existing task
Long-session re-loginStart over or rebuild batchesSign in and continue the task

Does Blober delete the files from GoPro Cloud?

Section titled "Does Blober delete the files from GoPro Cloud?"

Not when the workflow action is Copy. The source media remains in GoPro Cloud after it reaches Google Drive.

Does the transfer reduce video or photo quality?

Section titled "Does the transfer reduce video or photo quality?"

No. Blober requests the highest-quality downloadable GoPro variant and transfers the file without transcoding it.

Yes, Blober performs the transfer on your computer. It prevents system sleep while a task is active, but the computer must remain powered on and connected to the network.

What happens when GoPro login expires?

Section titled "What happens when GoPro login expires?"

Blober requests a new login. Authenticate again and continue the existing task; its completed-file state is preserved.

Can I cancel GoPro Premium immediately after starting?

Section titled "Can I cancel GoPro Premium immediately after starting?"

Wait until the task is finished and you have verified the files in Google Drive. Your GoPro subscription must remain active while Blober reads the source library.

Move your GoPro Cloud library to Google Drive without browser batches or ZIP files. Blober is a one-time purchase with no per-GB transfer fee.

Download Blober at blober.io

Large Cloud Transfers: When a Desktop App Is the Right Tool

Where a desktop app fits for large cloud transfers, versus a provider's own migration

Moving a few files is easy anywhere. Moving terabytes is a question of where the work runs, and the answer depends on the job. For most transfers, a desktop app on your own machine beats a browser-based or hosted tool. For a single bulk move of a very large dataset into one provider, that provider's own migration service can be faster. This page sorts out which is which.

A browser-based transfer happens inside a tab, and a tab is a small, supervised space. It has a memory budget, it can be paused or discarded when you switch away, and it usually holds only a handful of connections. For a dozen photos this is invisible. For a media library it is the wall the transfer hits: the tab slows, the laptop heats up, and a job that should run for an hour cannot stay awake long enough to finish.

The Timeout and the Bandwidth Bill

Section titled "The Timeout and the Bandwidth Bill"

Hosted services move work onto their own machines, which sounds like an upgrade until you look at the path. The data has to travel from the source into their infrastructure, and then back out to the destination. You wait for both legs, and the company pays for the bandwidth in the middle. That cost does not disappear. It comes back as a subscription, a per-GB charge, or a monthly transfer cap.

Server functions also run on a clock. AWS Lambda, for example, documents a maximum function timeout of 900 seconds, or 15 minutes[1]. Many serverless jobs are designed to finish in seconds or minutes, not the hours a large migration needs. When the clock runs out mid-file, the job has to be broken into pieces and stitched back together; if that orchestration is wrong, gaps and duplicates are the failure mode.

What a Desktop Process Can Actually Do

Section titled "What a Desktop Process Can Actually Do"

A desktop app is not boxed in the same way. It can use the memory and processor your machine actually has, open many transfers in parallel, and keep running for as long as the work takes. If the connection drops, Blober can retry failed records; if you stop and rerun a workflow, skip-existing keeps completed files from being sent again.

Blober also streams rather than stages. Instead of saving a full copy of every file to your disk and uploading it again, it flows the data through and writes it straight to the destination, so disk space stops being the limit. The difference between a streamed transfer and download-and-reupload is small for ten files and decisive for ten thousand, which is covered in Server-to-Server vs Download-and-Reupload.

Because the transfer runs from your machine, it uses your own connection and your own IP address. There is no shared relay address for a provider to throttle or block for every user of the tool at once. A hosted service, by contrast, reaches every provider from the same pool of company servers, which is the traffic pattern most likely to attract shared-service limits. Your own account and API limits still apply either way.

When a Provider's Own Migration Wins

Section titled "When a Provider's Own Migration Wins"

For a single move of a very large dataset, tens of terabytes or tens of millions of files, into one destination, the fastest path is often not your machine at all. Some providers run datacenter-to-datacenter migration, where the data never makes the round trip through your home or office connection. Backblaze, for example, lists assisted data migration as available for B2 Cloud Storage[2], and what can take weeks streaming through your own link can take far less over a datacenter one. If you are doing one big move into one provider and you can grant that service access, start there. There is a worked 25 TB example in Migrating 100M+ Files from DigitalOcean Spaces to Backblaze B2.

This is not a flaw in any one tool. Any client-side transfer, a desktop app or a command-line tool alike, has to pull the data down to your machine and push it back up, which is two trips through your connection. For the very largest one-time moves, skipping those trips is the whole point.

Where a Desktop App Is the Right Tool

Section titled "Where a Desktop App Is the Right Tool"

A provider migration helps in a narrow case: one big move, into one provider that offers it, when you can hand that provider access. Outside that case, a desktop app like Blober is usually the better fit, and for some teams it is the only acceptable one.

  • When you cannot share credentials with anyone. Assisted migration means granting a third party access to your storage. For regulated data, client data under NDA, or anything inside a SOC 2 or ISO 27001 boundary, that is often ruled out. A team in that position cannot hand its keys to a destination provider's migration service any more than it could hand them to a relay. Blober keeps your credentials on your own machine and adds no third party to the path, so the transfer stays inside the controls you already have. See How Blober Works.
  • When the move is ongoing, not one-time. Migration services are built for a single bulk lift. New uploads, folder moves, periodic refreshes, and re-running a saved job are what a desktop tool is for.
  • When no assisted path exists. Provider migration almost always moves data into that one provider. Moving between two arbitrary providers, or pulling a library out of a consumer cloud like GoPro Cloud or Google Photos, has no assisted option. A desktop app that speaks each provider directly is the practical route.
  • When the scale is moderate. For gigabytes or a few terabytes, arranging an assisted migration is more trouble than it is worth. A desktop app just runs.
  • When you want to watch it happen. A desktop transfer stays visible and under your control, so you can pause, resume, and verify on your own machine.

What a Desktop App Does and Does Not Solve

Section titled "What a Desktop App Does and Does Not Solve"

A desktop app is not magic, and it is not always the fastest option. The bytes travel over your own connection, so a slow link is still slow, and for the very largest one-time moves a provider's datacenter migration can beat it outright. What a desktop app gives you is control and privacy: no relay, no third party holding your keys, and the reach to move between any providers you connect, including the ones with no migration service at all.

Is a desktop app the fastest way to move a very large dataset? Not always. For a one-time move of tens of terabytes into a single provider that offers datacenter migration, that route is usually faster, because it skips the trip through your connection. A desktop app wins on control, privacy, ongoing use, and moves between providers that have no assisted option.

What if I cannot give a third party access to my storage? Then a desktop app is the right choice. Blober uses your credentials on your own machine and adds no outside party to the transfer, so it fits inside compliance boundaries that rule out both hosted relays and assisted migration services.

Does the data still go through my computer? Yes. A desktop tool streams the data through your machine to the destination. The point is that it does not also route through a separate company's servers, and it does not save a second full copy to your disk.

What happens if my transfer is interrupted? Blober retries failed records during a run. If you stop and rerun the workflow, skip-existing avoids sending files already written at the destination, so the job continues at file level instead of starting the whole migration again.

Where Cloud Transfer Tools Actually Send Your Data

Where cloud transfer tools send your data, hosted service versus local script versus desktop app

When you move files between clouds, the tool you pick decides the route your data takes. There are three common designs: a hosted service that relays your files through its own servers, a local command-line tool that runs on your machine, and a local desktop app. They differ most in two places you cannot see from the marketing page: where your files travel, and where your credentials live.

You sign in on a website, connect your clouds, and the service moves the data on its servers. It is convenient and needs nothing installed. In exchange, your files pass through infrastructure you do not control, your credentials are stored on its systems, and the work depends on its uptime, its pricing, and its jurisdiction. Pricing here is usually a subscription or a per-GB transfer fee, sometimes with a monthly cap.

Tools like rclone run on your own machine and move data directly between providers. Your files do not detour through anyone else's servers, and your credentials sit in a local file you control; rclone documents cloud authentication in its local configuration file and recommends protecting that file because it contains login information[1]. The cost is your time: configuration files, keys to manage, and provider-specific flags, all from a terminal.

A desktop app keeps the direct, on-your-machine route of a command-line tool and adds a visual interface. You connect a provider by signing in, browse your files, pick a destination, and run. Credentials stay in a local store, the data streams straight between your providers and your machine, and there is no Blober account or Blober server in the transfer path. Blober is built this way, with a lifetime licence rather than a subscription.

QuestionHosted serviceLocal scriptLocal desktop app
Where do your files travel?Through the company's serversDirectly, through your machineDirectly, through your machine
Where do your credentials live?On the company's systemsIn a local file you controlIn a local store on your machine
Does the tool vendor need to be in the transfer path?YesNoNo
Can provider limits still apply?Yes, and shared company servers can be throttled or blocked for every user at onceYes, but traffic uses your own IPYes, but traffic uses your own IP
What does it cost you over time?Subscription or per-GB feeFree tool, your setup timeLifetime licence, no subscription or per-transfer fees
What does it ask of you?An account and trust in the relayComfort with a terminalSigning in and clicking

A hosted service reaches every provider from the same pool of server addresses. That is the pattern most likely to attract shared-service rate limits, geofencing, or blocks, and when it happens, every user of that service is affected at once. A tool on your own machine connects from your own IP address, so there is no company relay address to single out. For services that were never designed for bulk export, that difference can matter, although account-level and API limits still apply.

  • Pick a hosted service if you want nothing installed, you are moving a modest amount, and a shared team dashboard matters more than keeping data and keys on your own side. These services are genuinely convenient, and for the right job that convenience wins.
  • Pick a local script if you live in the terminal and want maximum control with no interface in the way.
  • Pick a desktop app if you want the direct, local route without the setup, especially for large libraries or providers that resist bulk transfers.

No single design is best for everyone. A hosted service removes all setup and is easy to share across a team. A script is the most flexible if you are willing to learn it. A desktop app aims at the middle: the privacy and reach of running locally, with the ease of a visual tool. The right choice is the one whose trade-offs you are happy to live with.

Does a desktop app still send my data through my computer? Yes, and that is the point. The data streams through your machine to the destination instead of through a separate company's servers, and no second full copy is saved to your disk.

Why can a hosted service get blocked when a desktop app does not? The hosted service connects from shared company servers that a provider can recognize and throttle. A desktop app connects from your own IP, so there is no shared relay address to block for every user at once.

Is a local tool less safe because the credentials are on my machine? Your machine is a single device under your control, not a shared database of many users' keys. For most people, one device they control is a smaller target than a company server holding thousands of accounts' credentials.

Server-to-Server vs Download-and-Reupload: Why the Difference Decides Your Transfer

A direct, streamed transfer versus download-and-reupload, explained

The Two Ways to Move Files Between Clouds

Section titled "The Two Ways to Move Files Between Clouds"

There are two ways to move files from one cloud to another. The common way downloads every file to your computer and uploads it again to the destination, which leaves a full copy on your disk and makes your machine the slow part. The other way, often called server-to-server or a direct transfer, streams the data between the two services without staging a full copy on your disk, so local disk space stops being the limit.

The difference is invisible for ten files and decisive for ten thousand. Understanding it saves you from a stalled migration halfway through a terabyte.

A Quick Word on "Server-to-Server"

Section titled "A Quick Word on "Server-to-Server""

The label is looser than it sounds. A literal server-to-server copy, where the two providers hand the bytes straight to each other and nothing passes through you, only happens in narrow cases: within a single provider, or between two services that specifically support it. What a desktop tool like Blober gives you instead is a streamed copy. The data flows through the app rather than being staged on your disk, so disk space stops being the limit, though the bytes still travel over your own connection. The win is skipping the second full copy, not escaping your network.

Download-and-Reupload, and Where It Breaks

Section titled "Download-and-Reupload, and Where It Breaks"

Drag a cloud folder to your desktop and back into another service, or let a sync client mirror it locally, and you are doing a download-and-reupload. It works, and for small jobs it is fine.

It breaks in three ways at scale. First, disk: a 2 TB move needs 2 TB of free space, which most laptops do not have. Second, time: every byte makes two trips through your machine. Third, fragility: a sync client chewing through thousands of files will choke, duplicate, or stall, and you babysit it.

A direct transfer connects to both services and streams data from the source to the destination without writing a full local copy to disk. The practical wins:

  • Disk space stops being the limit. You can move far more than your free disk, because the files are not staged there.
  • It runs in parallel. Many files move at once instead of one slow queue, which is what actually makes a big library finish.
  • It skips what is already done. If a transfer drops partway, re-running it carries only the files that did not make it, instead of starting the whole job over.

A direct transfer is not magic, and it helps to know the real boundaries. The data still travels over the connection of wherever the tool runs, so your bandwidth is part of the equation. Egress, what a source provider charges to read your data out, still applies regardless of the tool, so plan the move as one clean pass rather than repeated pulls. What you avoid is the second full copy on your disk and the double handling that comes with it.

Where Your Data Goes (and Does Not)

Section titled "Where Your Data Goes (and Does Not)"

There is a second axis worth separating from disk: who handles your data. Some cloud-to-cloud services route your files through their own servers, which means a third party touches them. Blober is a desktop app, so it runs on your machine with your credentials, and your data is not parked on someone else's server in the middle. You get the direct-transfer benefit without handing your files to a relay.

What is a server-to-server transfer? Strictly, it means the two providers move the data between themselves so it never touches your machine, which only works in specific cases. In practice, most "server-to-server" tools stream the data through the tool instead. Blober does this from your own machine: the files are never staged as a full copy on your disk, though they do travel over your connection.

Do I have to download files to move them between clouds? Not with a direct-transfer tool. Blober streams between the source and destination without writing a full copy to your disk, so disk space is not the limit.

Why is my cloud-to-cloud transfer so slow? A download-and-reupload sends every byte through your machine twice and often runs one file at a time. A parallel direct transfer keeps many files moving at once, which is far faster for large libraries.

Does a direct transfer avoid egress fees? No. Egress is charged by the source provider for reading your data out, no matter which tool you use. A direct transfer avoids the wasted second trip and the local copy, not the provider's egress.

Move large libraries between clouds without filling your disk. Blober streams files directly between a broad, growing set of cloud providers and local storage, in parallel, and runs on your machine rather than a third-party server.

Download Blober at blober.io

Transfer GoPro Cloud Files in 45 Seconds with Blober

GoPro Cloud workflow setup in 45 seconds with Blober

This video shows the full process of creating a Blober workflow with GoPro Cloud as the source.

Play

Select GoPro Cloud as your source, click Open GoPro Login, and sign in. Blober captures your session. No API keys, no config files, no CLI.

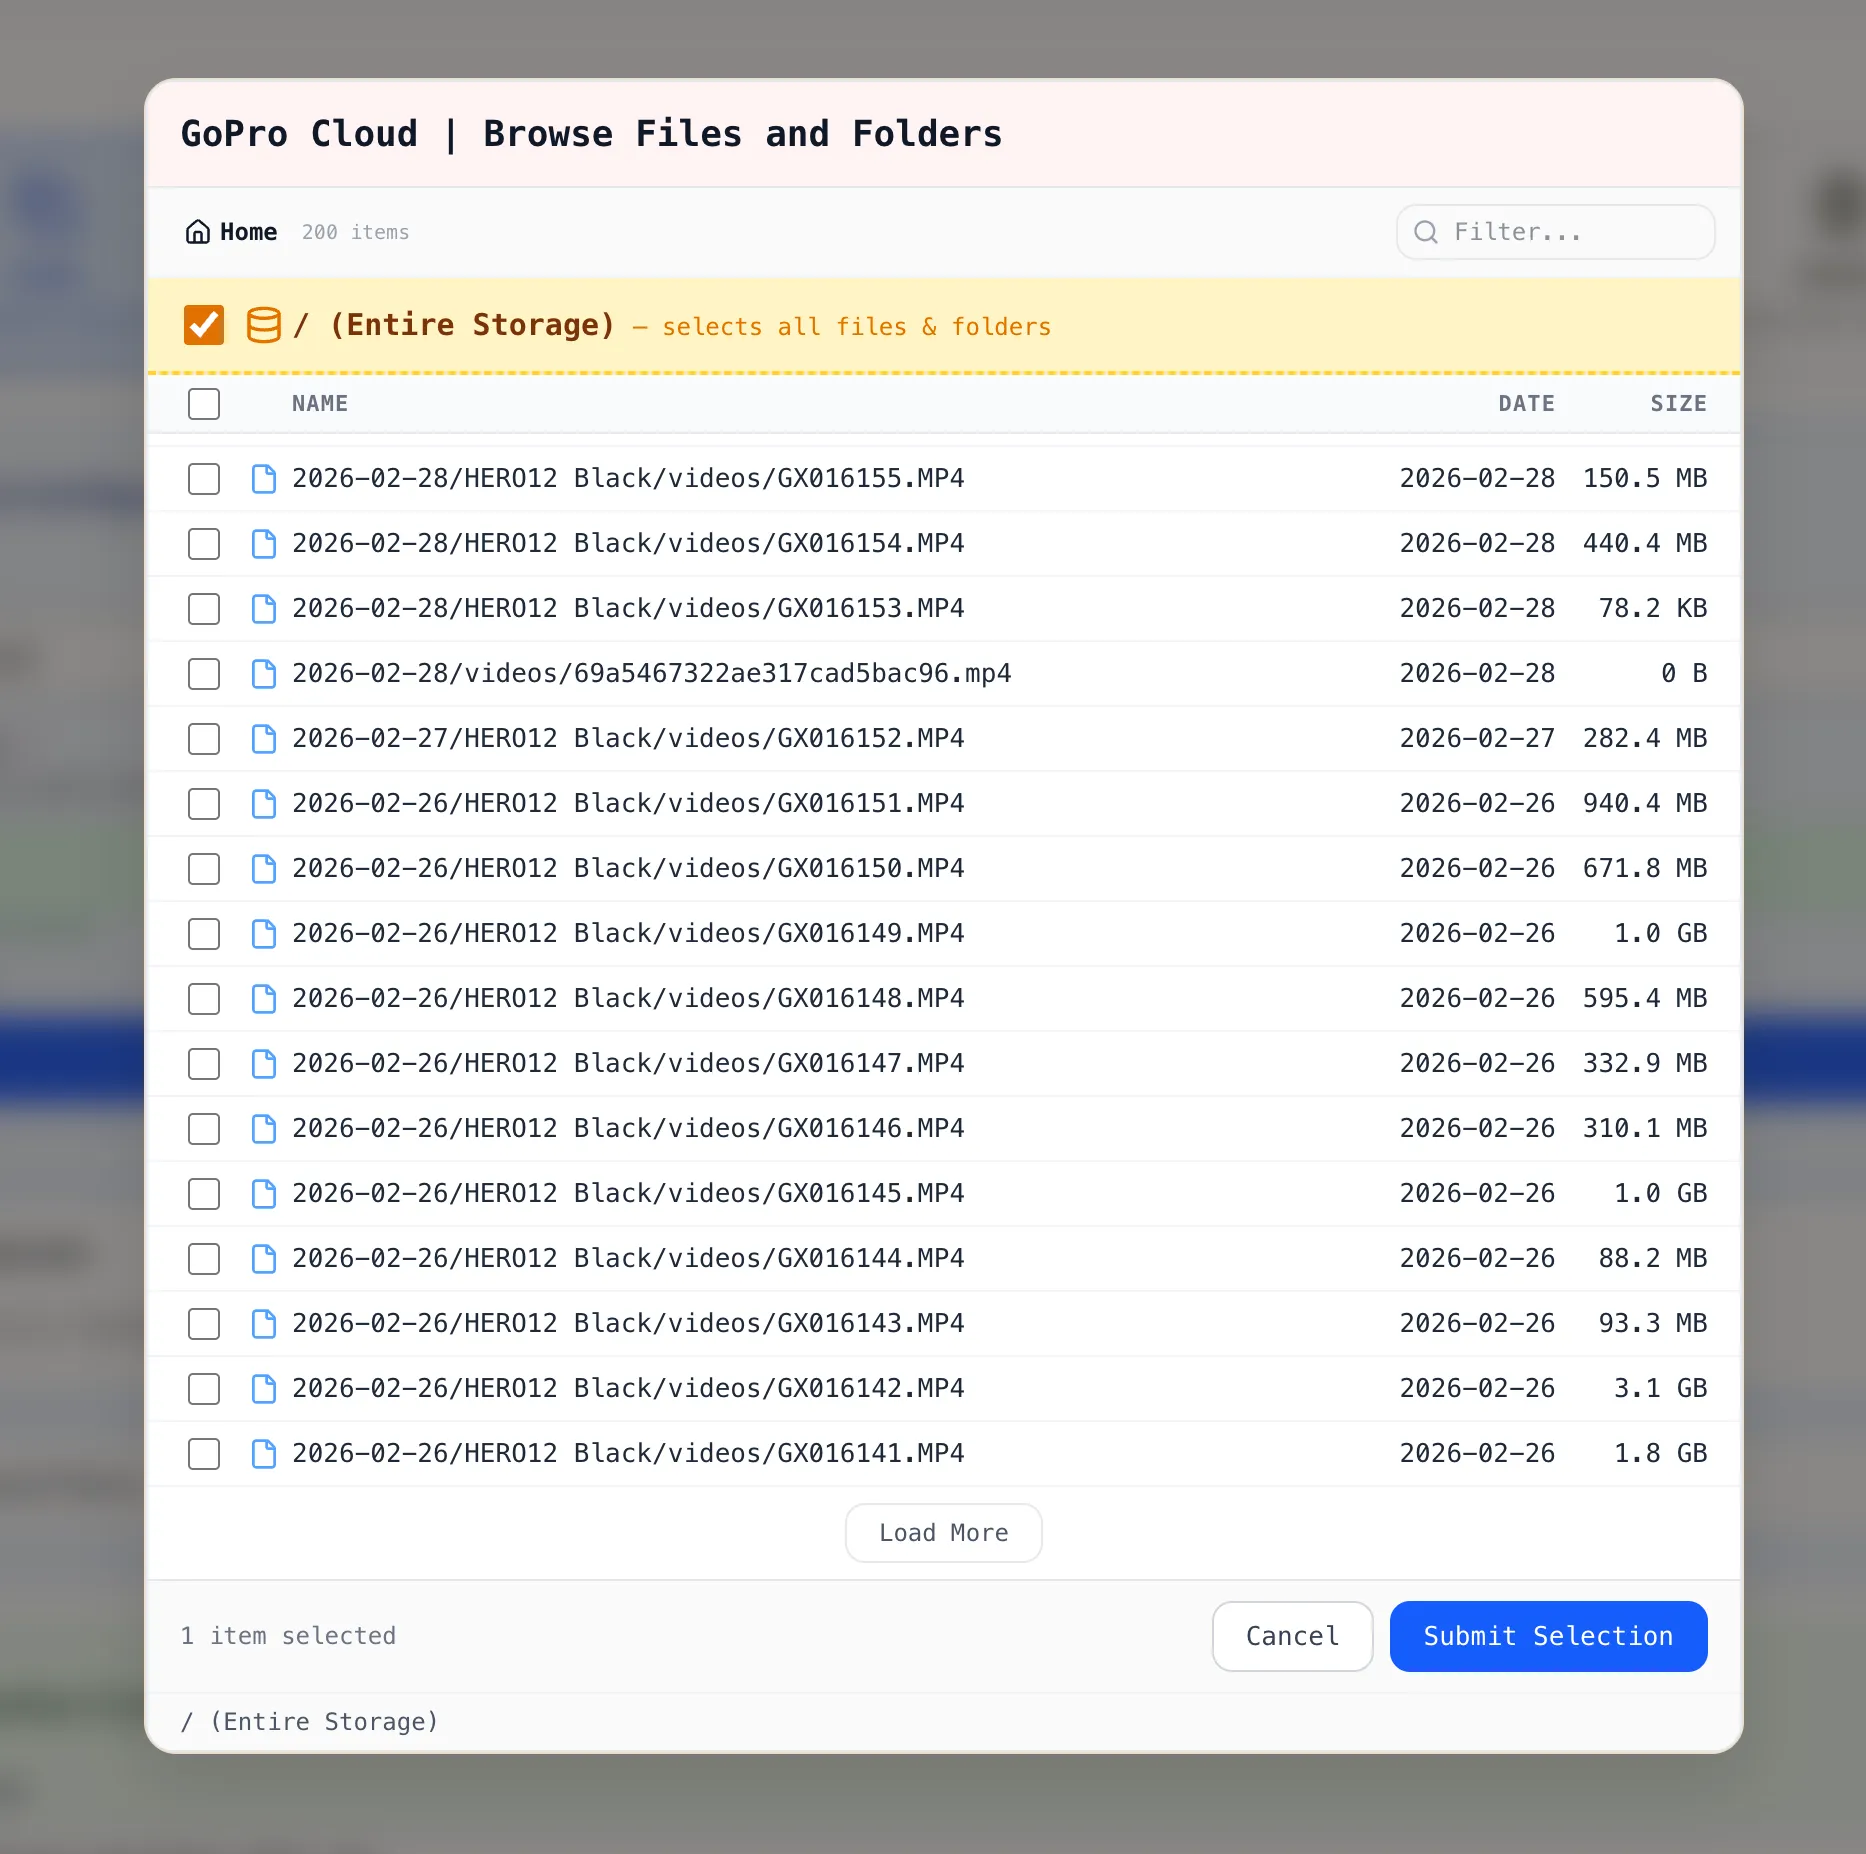
Click Browse Files and Folders. Blober loads your GoPro Cloud library. Files are listed with date and size.

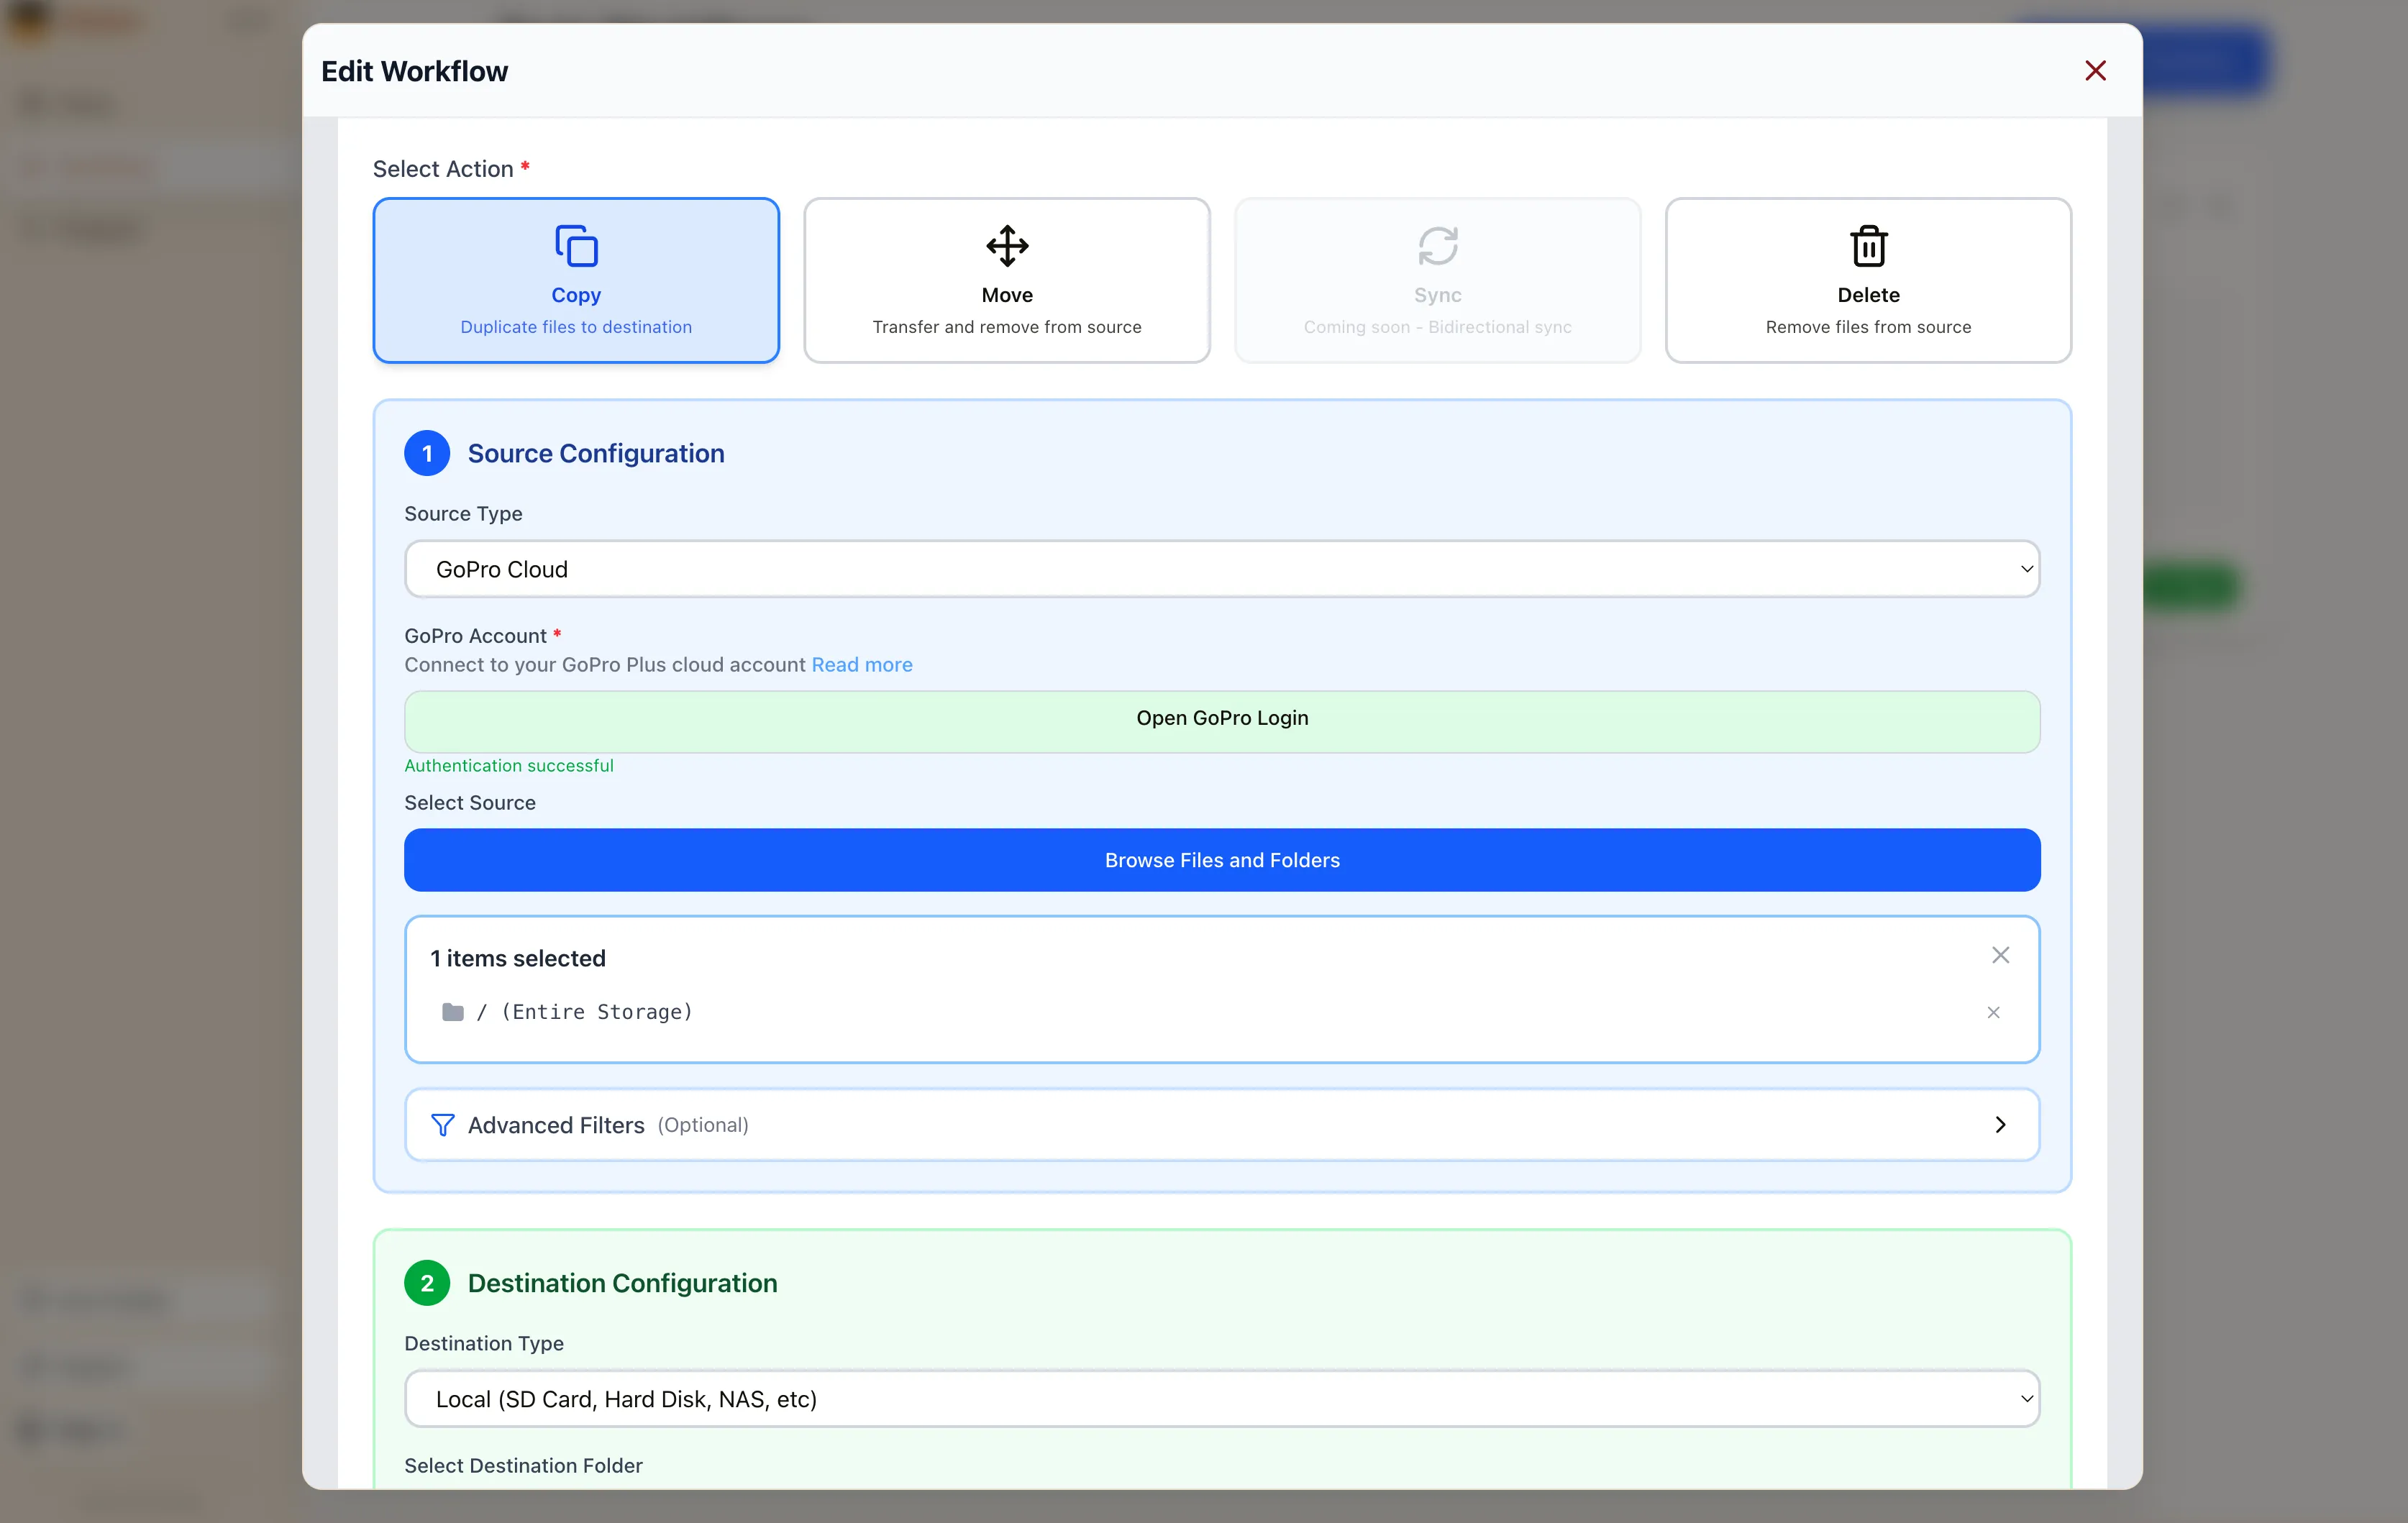
Blober file browser showing GoPro Cloud files with entire storage directory selected

You can select:

  • Individual files by clicking a single file
  • Multiple files by checking several files across folders
  • Entire directory by ticking the / (Entire Storage) checkbox

Click Submit Selection. The workflow editor shows your GoPro Cloud source with the selected items. Pick your destination (local disk, Backblaze B2, AWS S3, Dropbox, or another supported provider), configure options, and click Save Workflow.

Blober workflow editor with GoPro Cloud as source and entire storage selected

Close the workflow editor with the X button in the top-right corner. On the Workflows page, click the green Run button on your workflow card. Blober starts the transfer with parallel downloads, progress tracking, and automatic resume.

GoPro's web portal limits batch downloads to 25 files at a time, bundled as ZIPs. Large downloads often fail. There is no bulk export and no "Download All" button.

Blober is the only tool that connects to GoPro Cloud. rclone, MultCloud, and Flexify do not support GoPro as a source.

  • No manual downloads. Files move directly from GoPro Cloud to your destination.
  • No file limits. Transfer 10 files or 10,000 in one run.
  • No subscription. Blober is a one-time purchase.
  • No middleman. Everything runs on your machine. Your credentials stay local.
  1. Download Blober (macOS, Windows, Linux)
  2. Connect your GoPro Cloud account
  3. Create a workflow and run it

Your Files, Your Machine, No Middleman: Why Local-First Transfers Matter

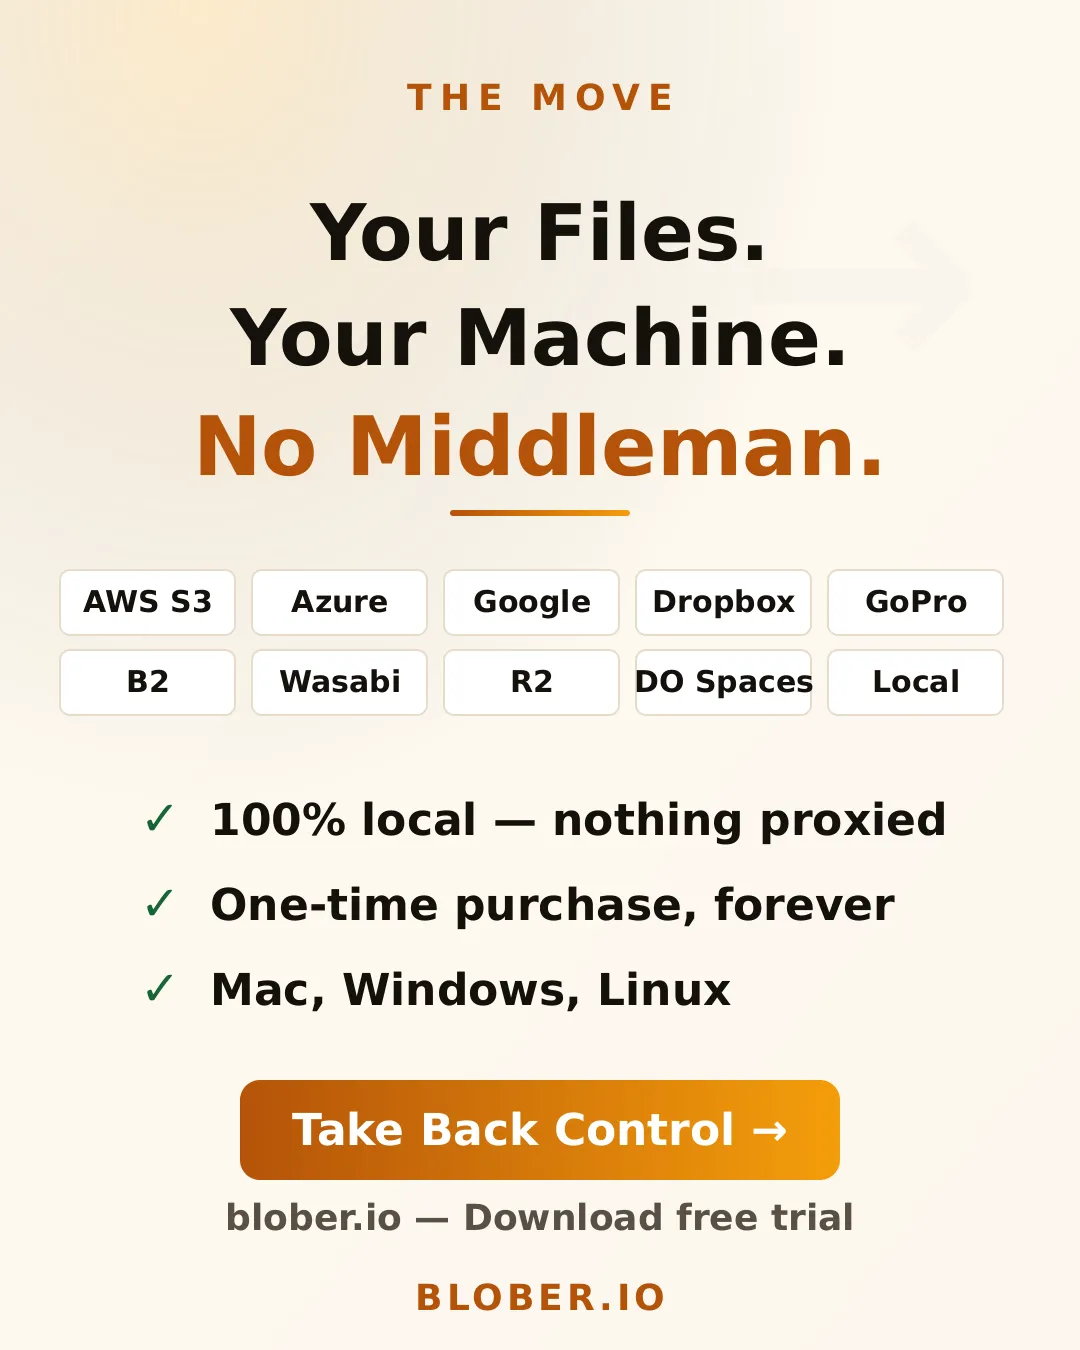
Your Files. Your Machine. No Middleman. Blober local-first cloud file transfer

The Risk You're Not Thinking About

Section titled "The Risk You're Not Thinking About"

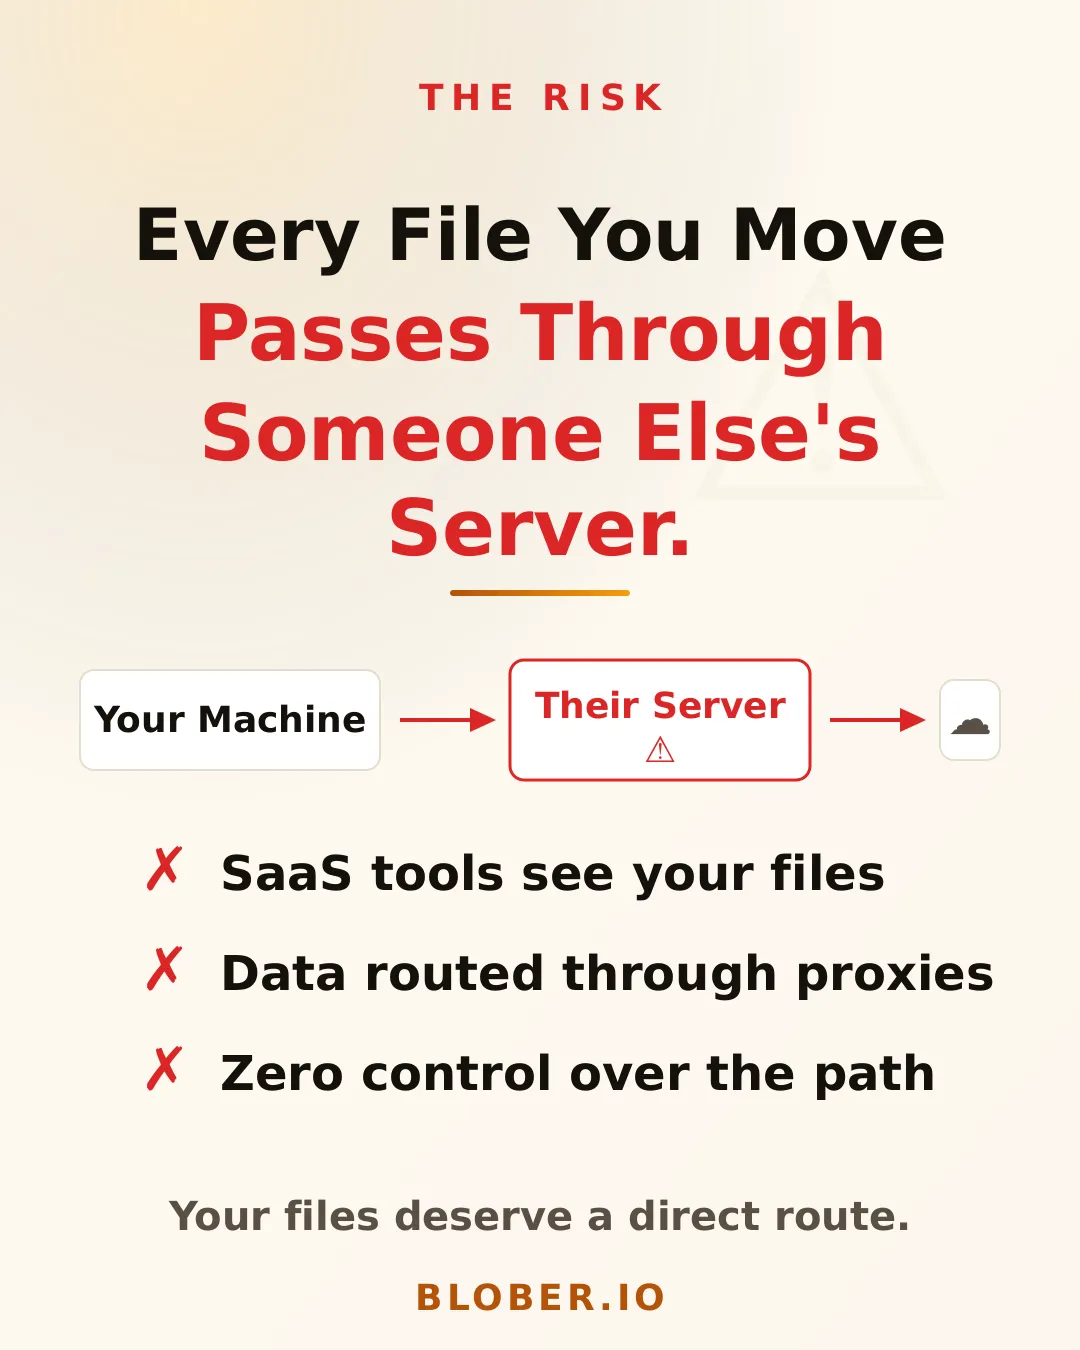
Every time you use a SaaS cloud transfer tool (MultCloud, Flexify, or any browser-based service), your files pass through someone else's servers. Your vacation photos, your client deliverables, your financial backups: all routed through infrastructure you don't control, operated by companies you've never audited.

Most people don't think about this. They click "transfer," see a progress bar, and assume their files went from A to B. In reality, the path is A to middleman to B. That middleman sees your filenames, your folder structure, and in many cases, the file contents themselves.

The risk of SaaS cloud transfer tools: your files pass through someone else's servers, data is routed through proxies, and you have zero control over the path

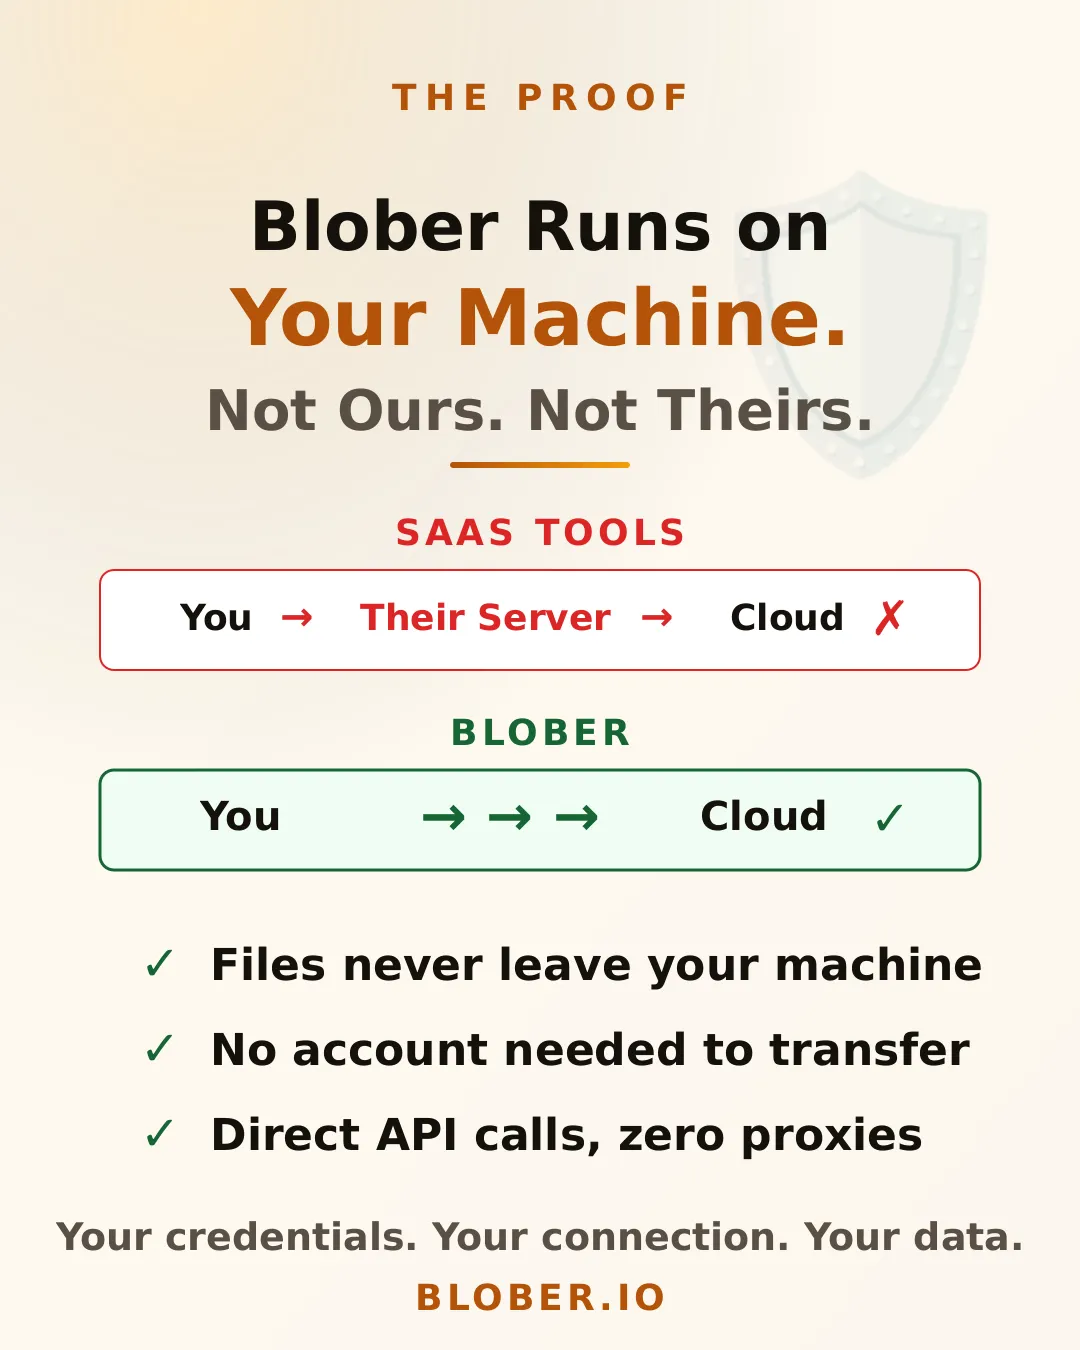
Blober is a desktop app. It runs on your machine (Mac, Windows, or Linux) and talks directly to your cloud provider's API. When you transfer files from AWS S3 to Backblaze B2, the data flows from your machine to the provider endpoint. No relay. No proxy. No middleman.

This isn't just a privacy feature. It's a fundamentally different architecture:

  • SaaS tools: Your Machine > Their Server > Cloud Provider
  • Blober: Your Machine > Cloud Provider (direct)

Your credentials never leave your device. Your files never touch a server you didn't choose. And because there's no middleman bandwidth to pay for, there are no per-GB transfer charges from the tool itself. You only pay what your cloud provider charges.

Blober runs on your machine with direct API calls. SaaS tools proxy through their servers while Blober connects you directly to your cloud providers

Blober connects to a growing list of storage providers - AWS S3, Azure Blob Storage, Backblaze B2, Cloudflare R2, DigitalOcean Spaces, Dropbox, Google Drive, GoPro Cloud, Local Disk, Wasabi, and more - all from a single app with a visual file browser.

No subscriptions. No per-transfer fees. One purchase, lifetime access. And every byte stays between you and your cloud provider.

Take back control with Blober. A growing list of cloud providers, 100% local transfers, one-time purchase, available on Mac, Windows, and Linux
  • Privacy-conscious users who don't want their files routed through third-party servers
  • Photographers and videographers transferring large media libraries between providers
  • Small businesses that need to move data without compliance headaches
  • Anyone leaving a cloud provider who wants a clean, direct migration path
  • GoPro users who want their footage somewhere they actually control

Your files. Your machine. No middleman. Download Blober

How to Move GoPro Cloud Media to Dropbox the Easy Way

Why Move Your GoPro Footage to Dropbox?

Section titled "Why Move Your GoPro Footage to Dropbox?"

GoPro Cloud (included with GoPro Plus / GoPro Premium) stores your camera footage automatically. It's convenient, until you need to actually do something with it.

The problems with keeping everything in GoPro Cloud:

  • No easy bulk export. GoPro's web portal limits batch downloads to 25 files at a time, bundled as a ZIP. Large downloads frequently fail or time out.
  • No third-party integrations. No other file transfer tool (rclone, MultCloud, Flexify) can connect to GoPro Cloud. You're stuck with the GoPro web interface.
  • Subscription lock-in. Cancel GoPro Plus and you lose access to your footage. Your media is held hostage by a recurring charge.
  • No redundancy. If GoPro changes their cloud offering or shuts it down, you have no backup unless you've already downloaded everything manually.

Why Dropbox makes a good destination:

  • Accessible everywhere. Desktop, mobile, web. Dropbox works across all devices.
  • Selective sync. Keep large video files in the cloud and only download what you need locally.
  • Sharing built in. Send footage to clients, collaborators, or editors with a link.
  • Established and reliable. Dropbox has been around since 2007 and isn't going anywhere.
  • Integration with editing tools. Many video editors and photo apps integrate directly with Dropbox.

Moving your footage from GoPro Cloud to Dropbox gives you a second copy in a provider you control, one that doesn't depend on a GoPro subscription to access.

Blober is the only desktop app that connects directly to GoPro Cloud. No browser extensions, no manual downloads, no CLI config files. You create a workflow, press play, and your media transfers automatically.

Play

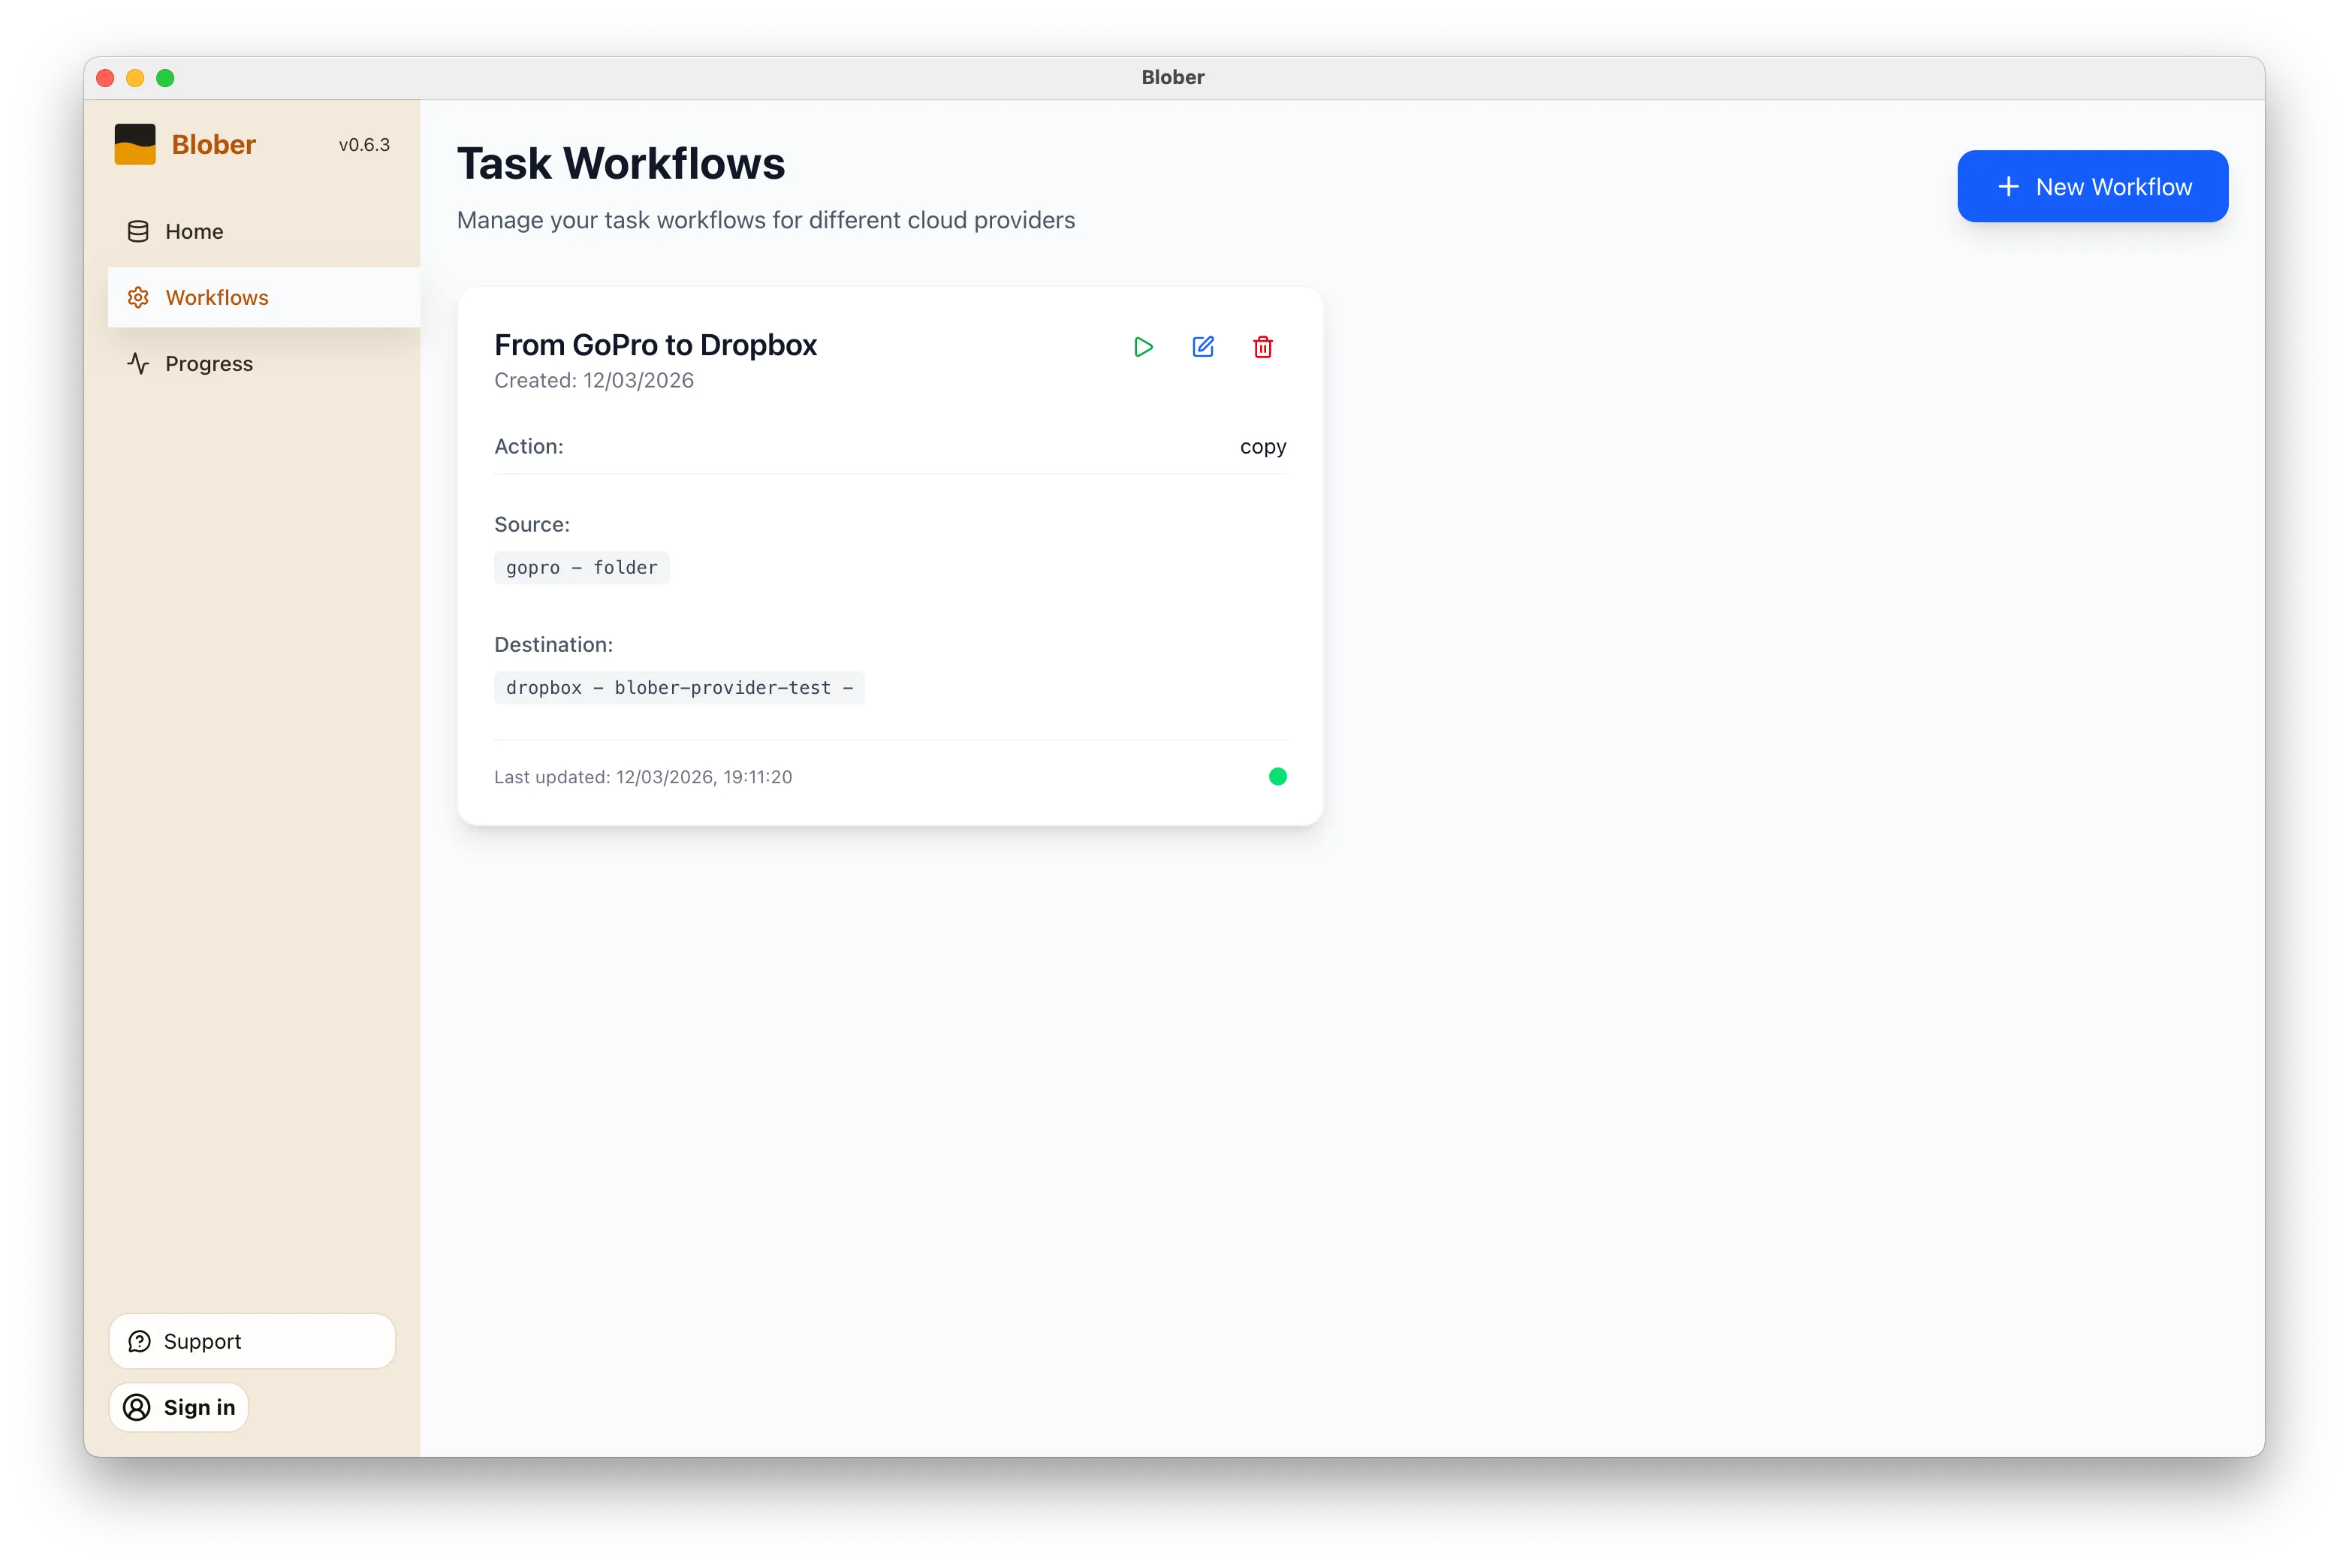
Open Blober, go to the Workflows page, and click New Workflow. Select GoPro as the source and Dropbox as the destination. Pick the folders you want to transfer from and where they should land.

Blober workflow configured to copy media from GoPro Cloud to Dropbox

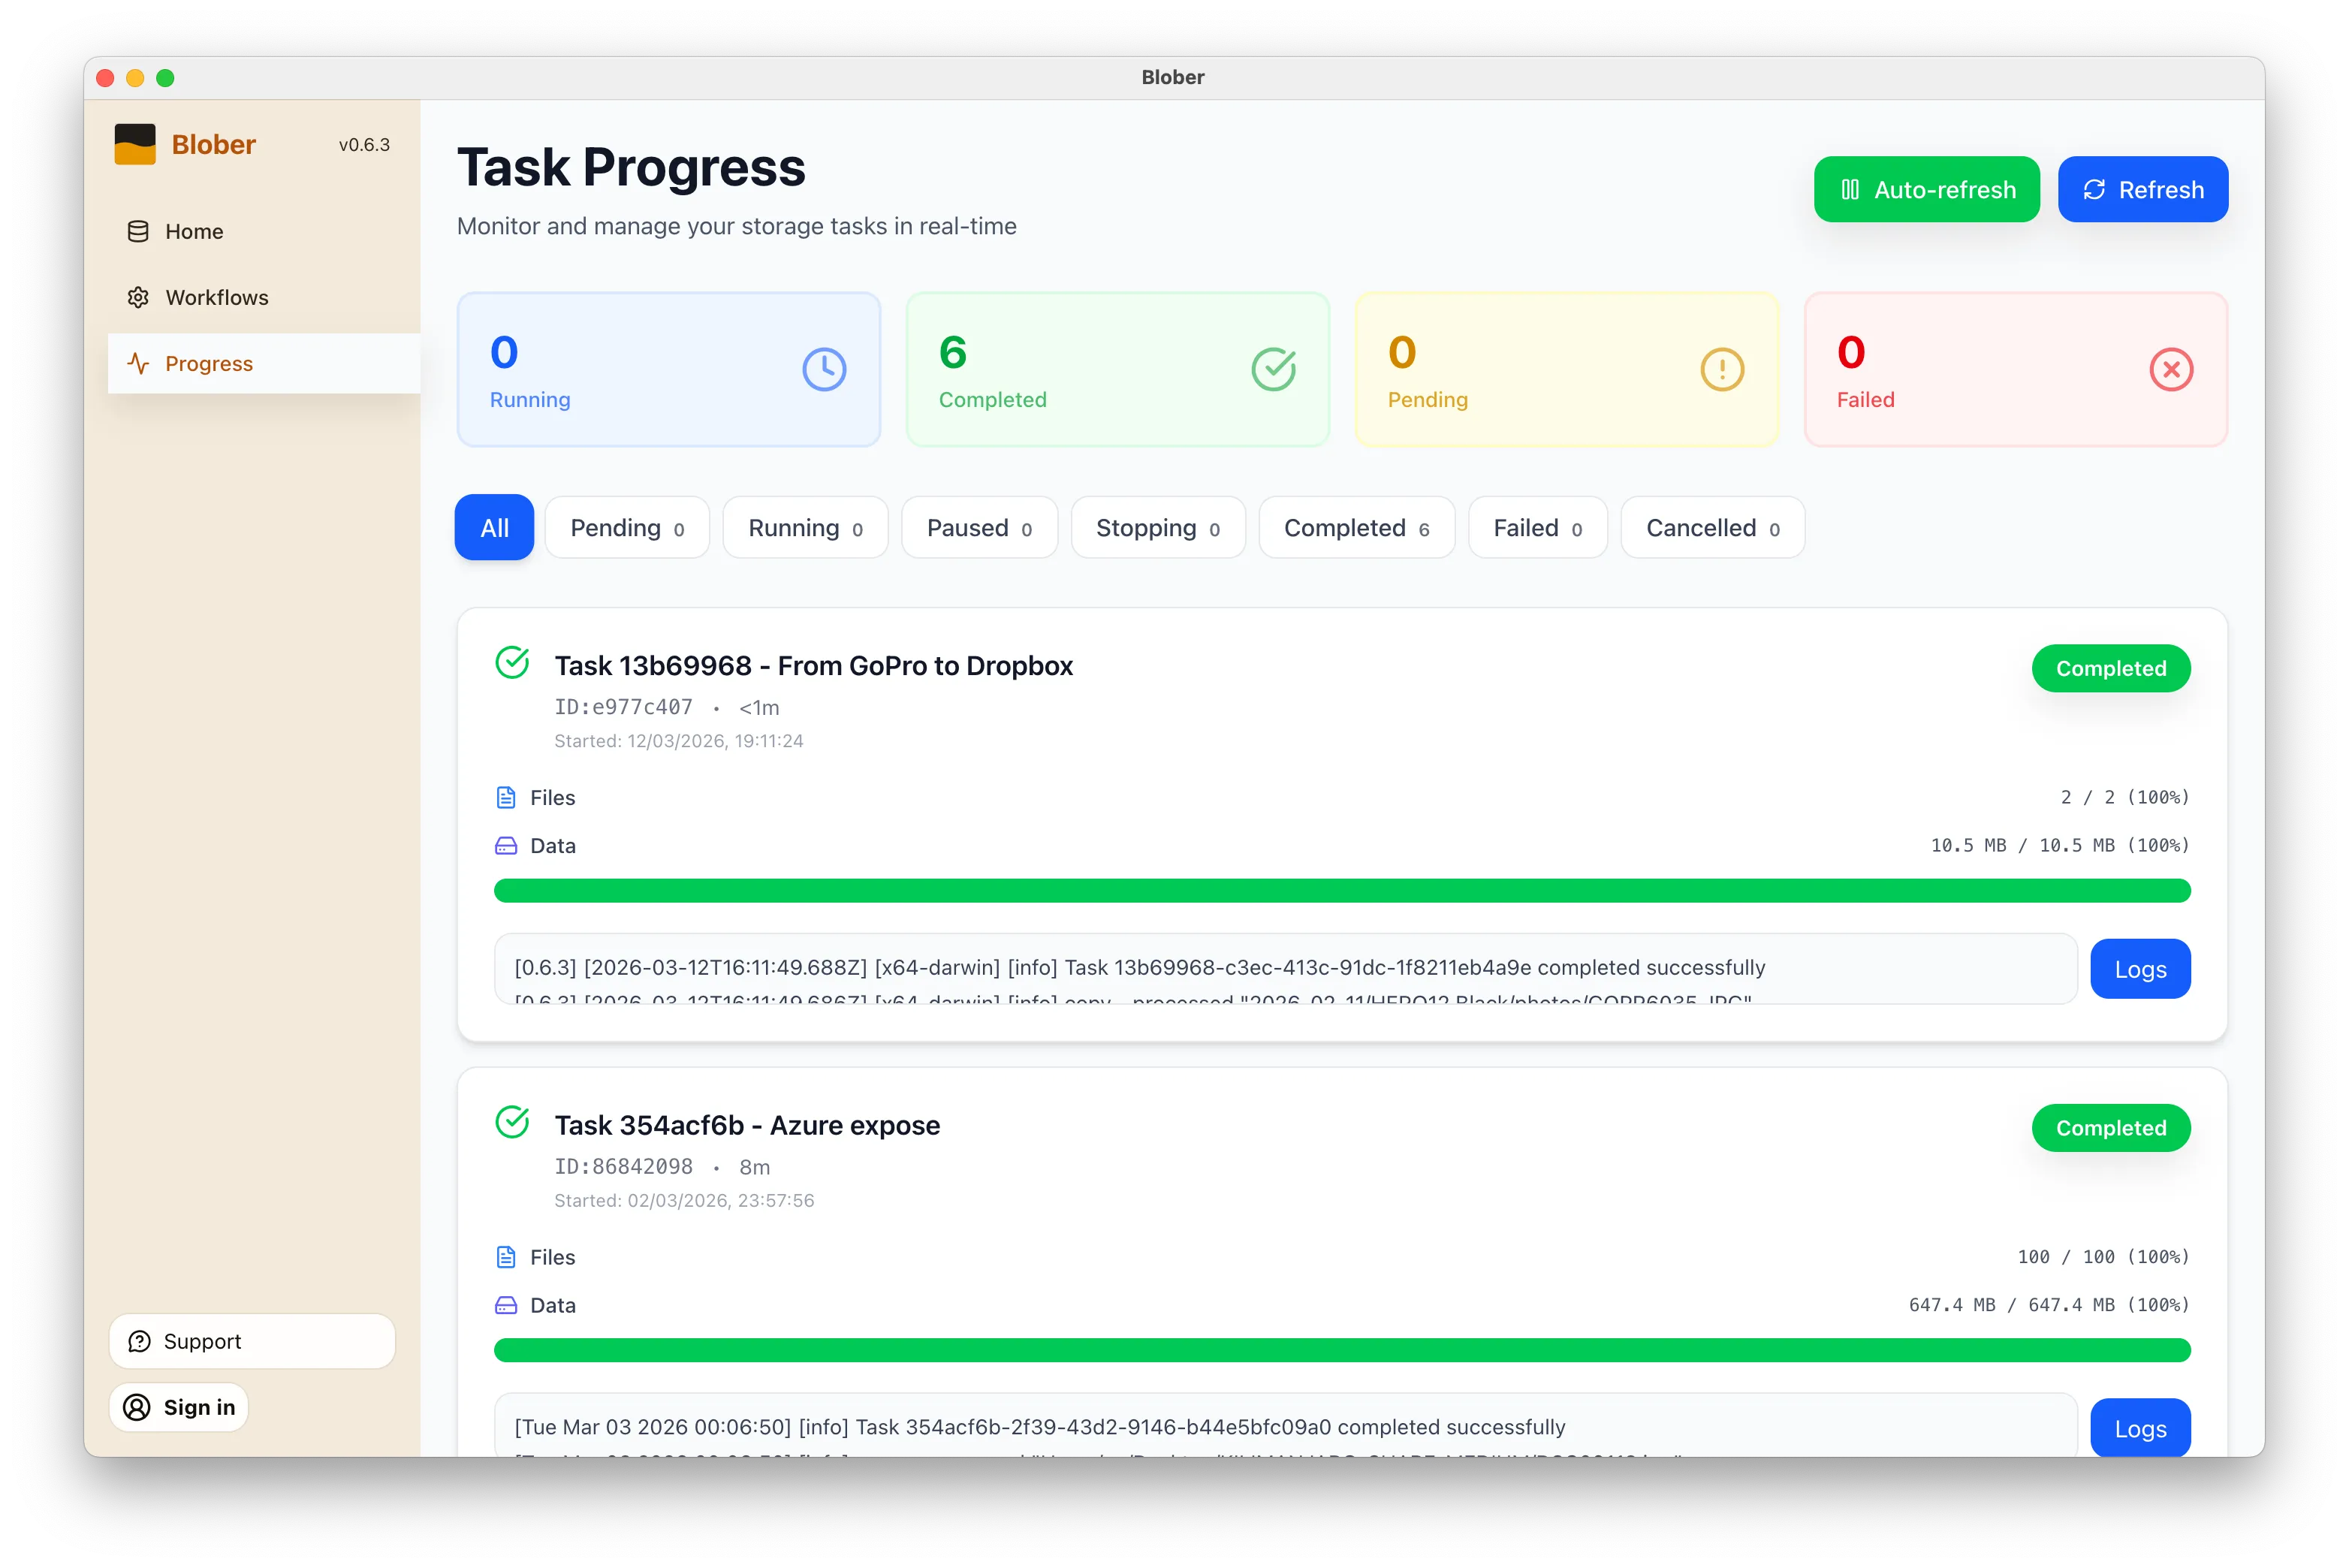
Click the play button on your workflow. Blober connects to both providers and starts transferring files immediately. Every file (photos, videos, time-lapses) gets moved directly from GoPro Cloud to Dropbox without touching your local disk first (unless you want it to).

Blober task progress showing files transferring from GoPro to Dropbox

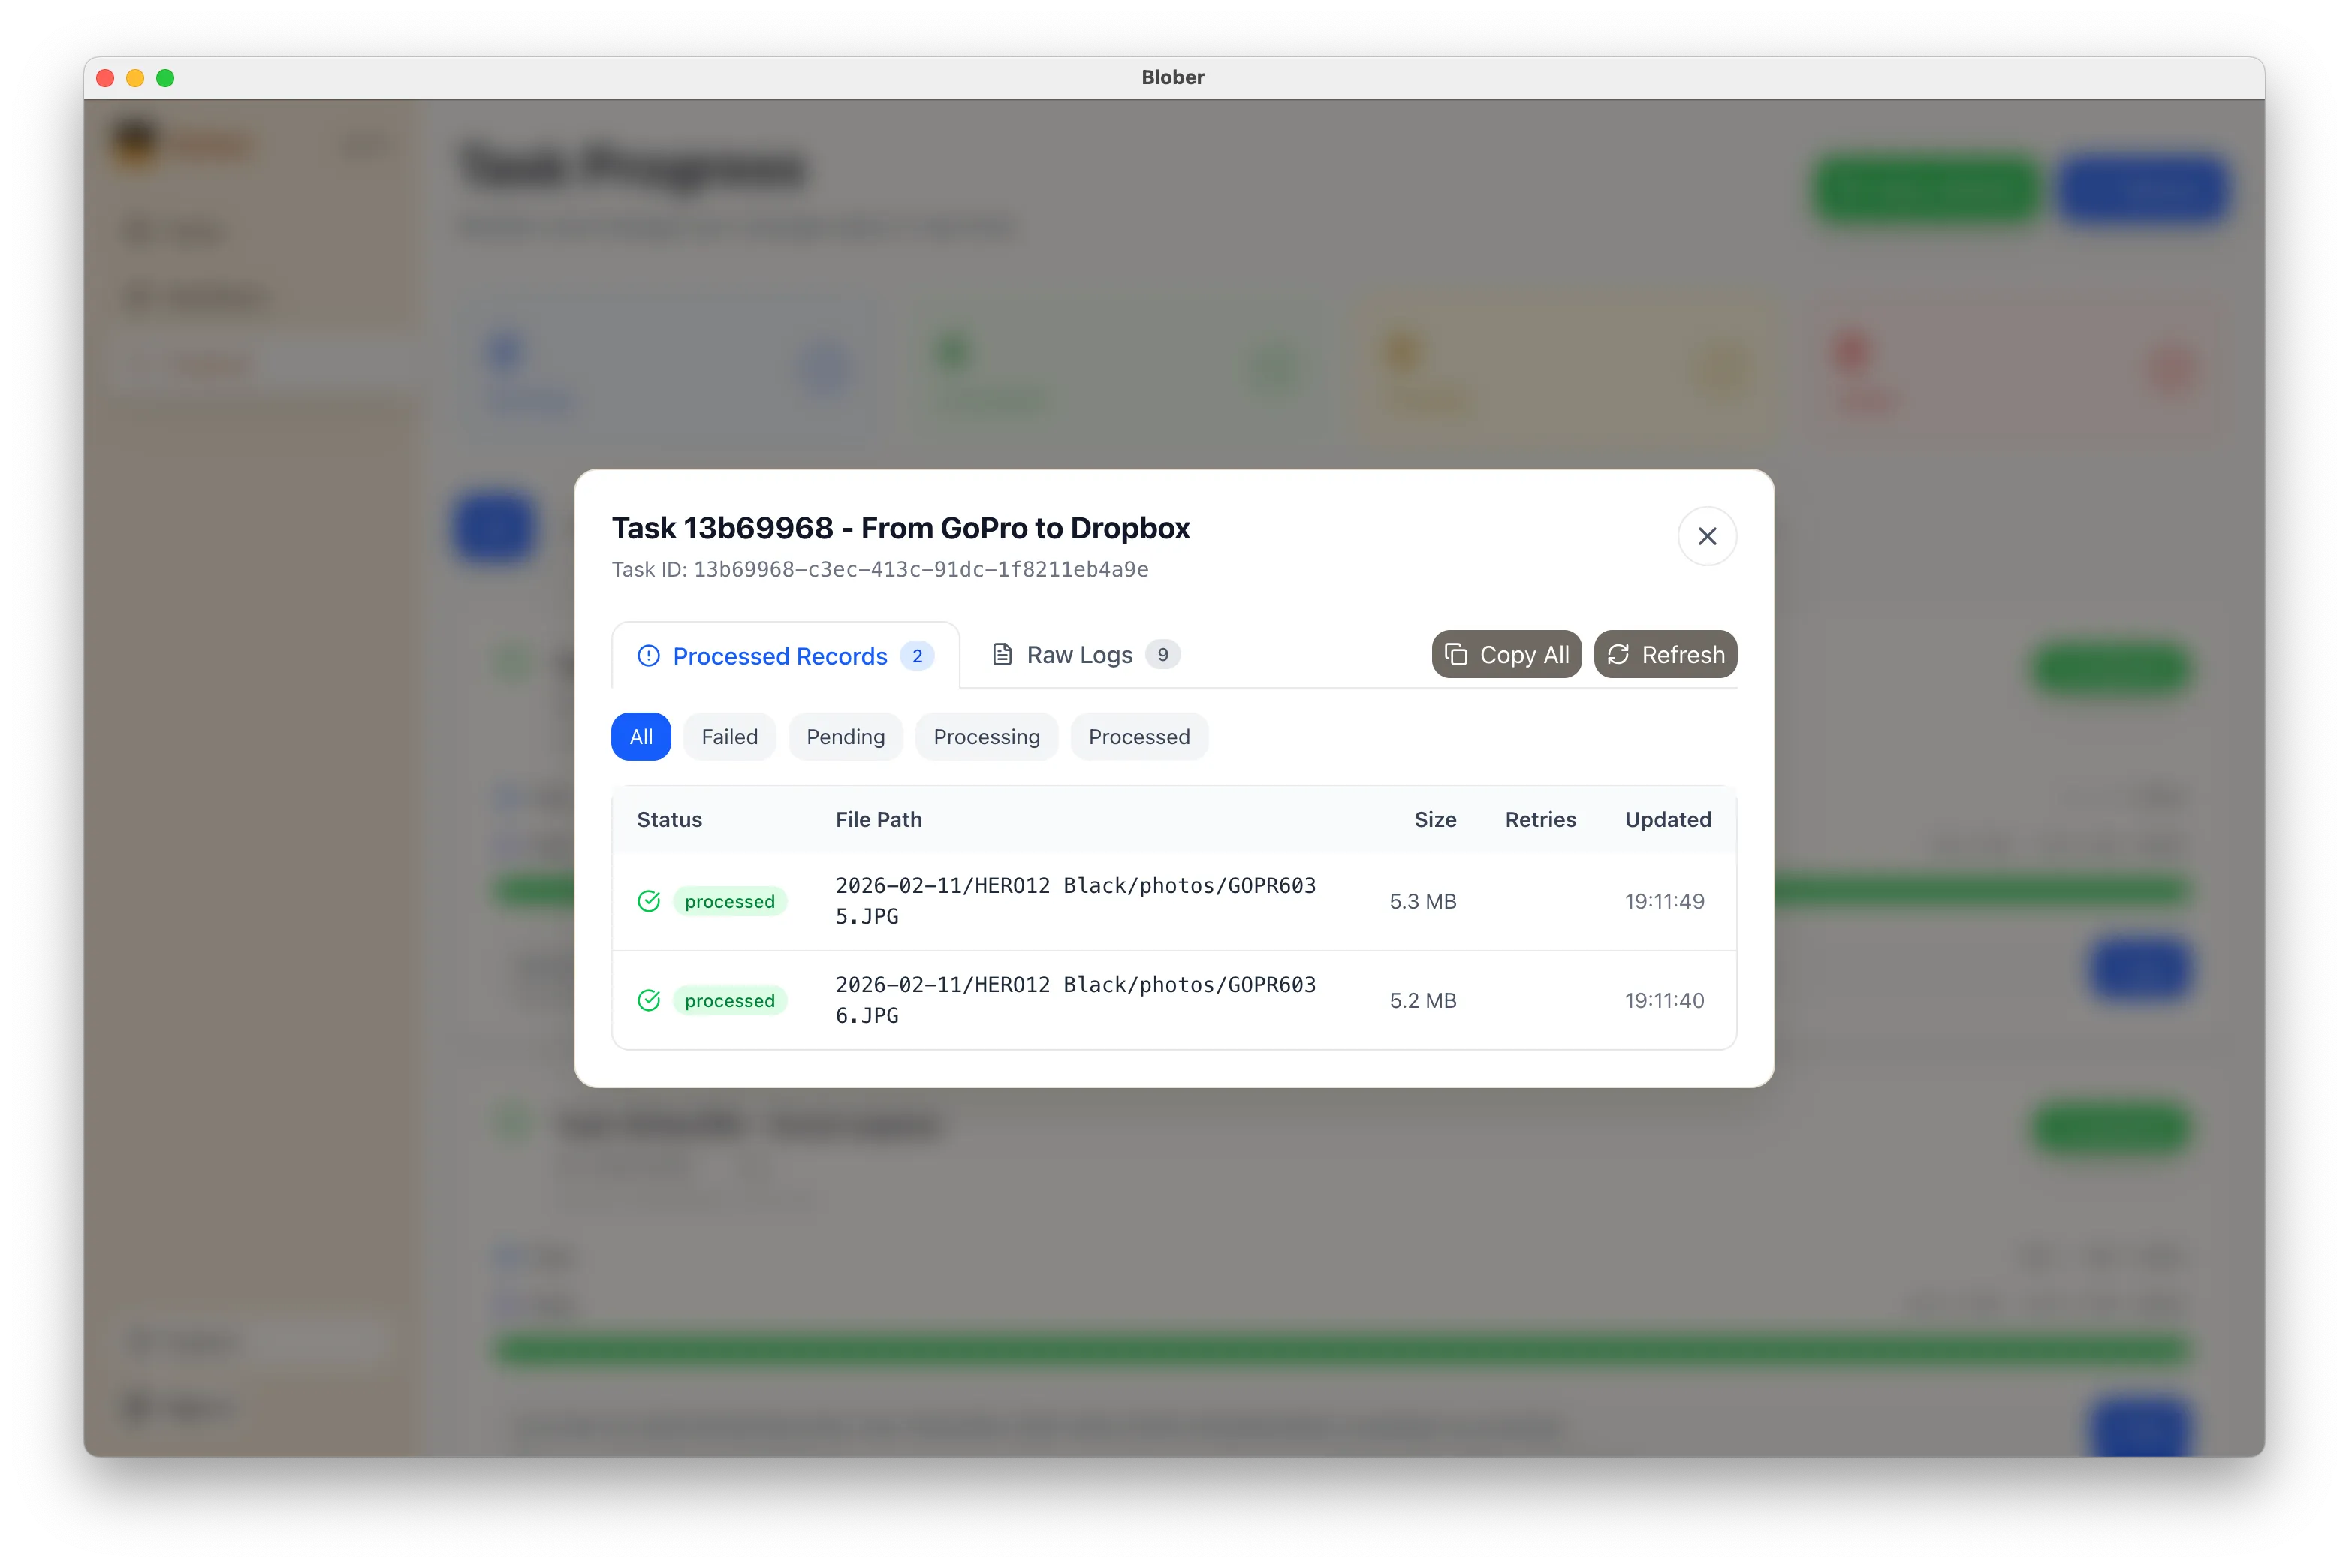
The Progress page shows exactly what's happening: files transferred, bytes moved, current speed, and estimated time remaining. If something goes wrong, you can pause, retry, or cancel at any time.

Blober task logs showing detailed transfer activity
  • No manual work. You don't download ZIPs, unzip them, then re-upload to Dropbox. Blober handles the entire pipeline.
  • No file limits. Transfer 10 files or 10,000. Blober processes them all in one run.
  • No subscription. Blober is a one-time purchase. No monthly fees, no per-GB transfer charges, no limits on how many times you run a workflow.
  • Runs locally. Your credentials stay on your machine. Files transfer directly between providers. Nothing passes through Blober's servers.
  • Before canceling GoPro Plus. Get your footage out before you lose access.
  • Regular backups. Set up a workflow now and run it whenever you want a fresh copy in Dropbox.
  • Switching providers. Moving off GoPro Cloud entirely? Transfer everything to Dropbox first, then cancel.
  • Sharing with a team. Put footage in a shared Dropbox folder so editors and collaborators can access it immediately.
  1. Download Blober (available for macOS, Windows, and Linux)
  2. Connect your GoPro and Dropbox accounts
  3. Create a workflow and press play

That's it. Your GoPro footage in Dropbox in minutes, not hours.

Stop Paying Rent to Move Your Own Files

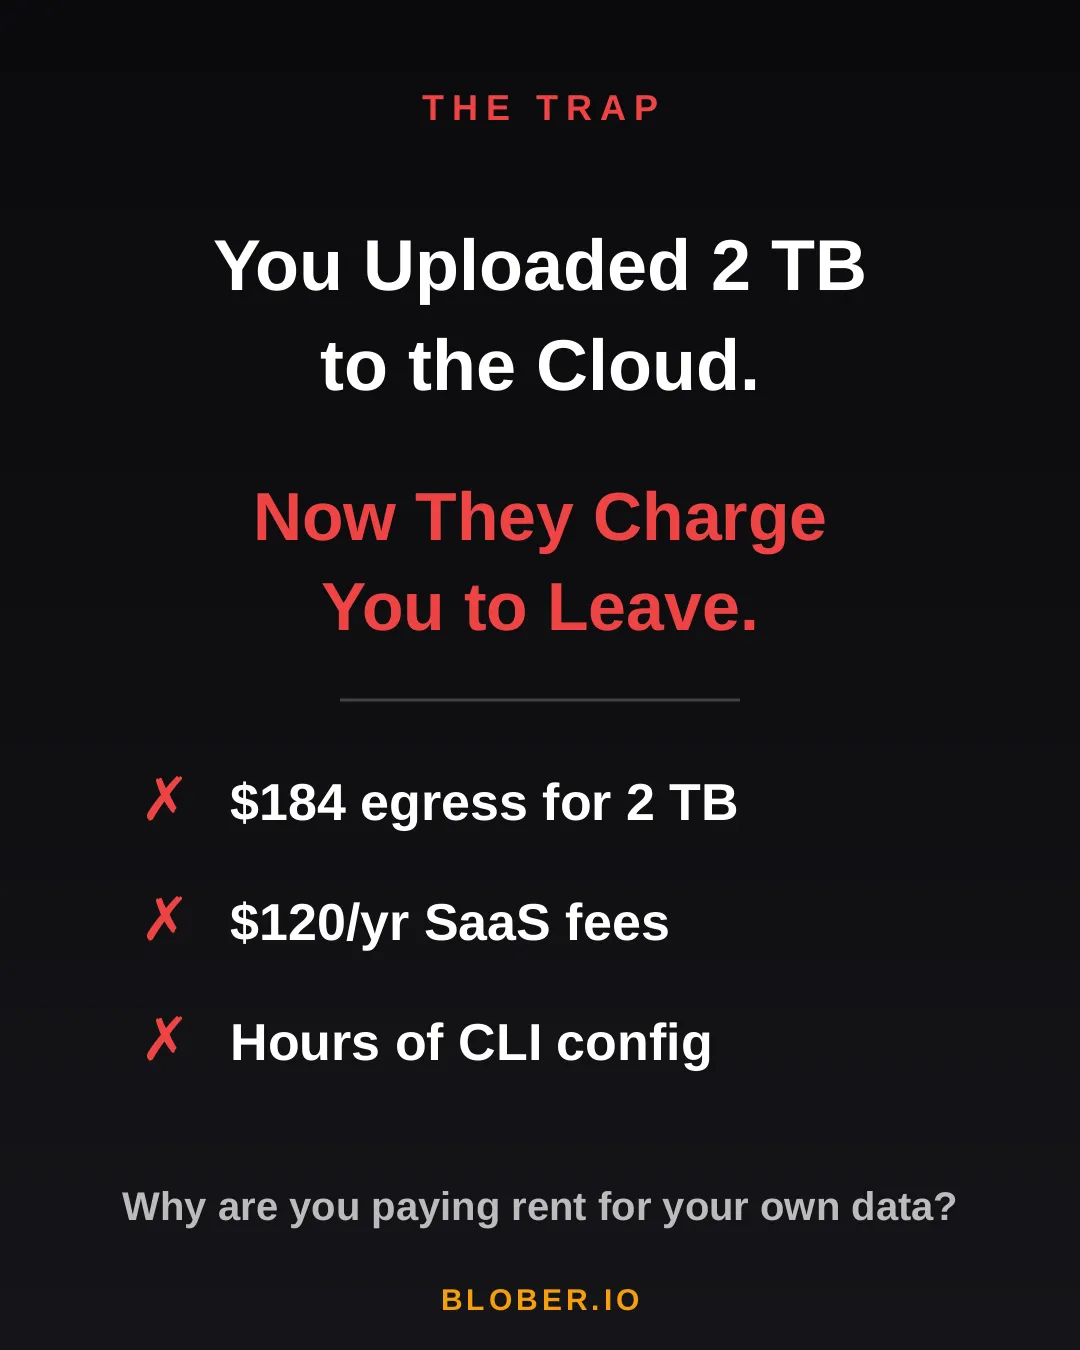
You uploaded 2 TB of photos, videos, and backups to the cloud. Life was good - until you wanted to move them somewhere else.

Suddenly, you're hit with egress fees, per-GB migration charges, and the realization that your cloud provider has been counting on you never leaving. It's your data. But moving it costs real money - every single time.

AWS charges ~$0.09/GB for egress. That's $184 just to download 2 TB of your own files. Want to use a SaaS migration tool? That's another $10-20/month, with transfer caps. Prefer the open-source CLI route? Clear your afternoon - you'll need it for YAML configs, credential files, and provider-specific quirks.

The trap: cloud providers charge you egress fees, SaaS tools charge subscriptions, and CLI tools cost you hours of setup time

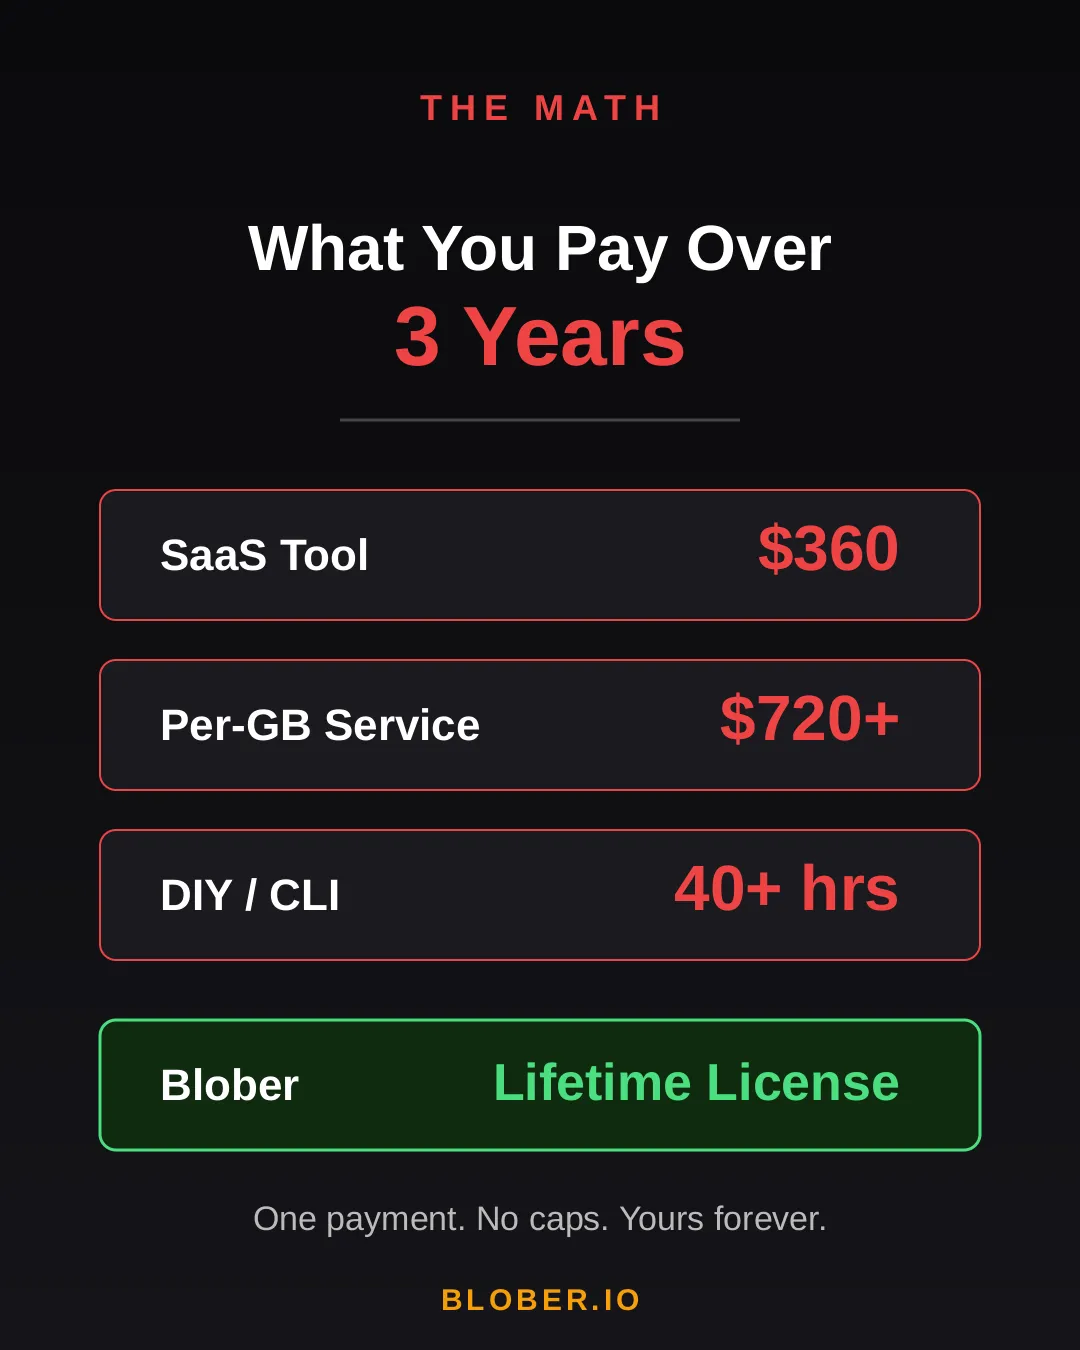
Let's talk real numbers. Over three years, here's what you'll pay using common approaches:

Approach3-Year CostCatch
SaaS Migration Tool~$360Monthly sub + data caps
Per-GB Service~$720+$0.03/GB, billed every transfer
DIY with CLI40+ hoursConfig per provider, no UI, breaks silently
BloberOne paymentUnlimited transfers. Forever.

The subscription model is designed to extract value from you month after month. The per-GB model punishes you for having more data. The CLI path trades money for your time.

Blober breaks the cycle. Pay once. Transfer as much as you want, as many times as you want. No meter running. No renewal emails. No "upgrade to unlock more."

Cost comparison over 3 years: SaaS tools cost $360, per-GB services cost $720+, DIY CLI costs 40+ hours, Blober costs one single payment

Blober is a desktop app - not a SaaS, not a CLI tool, not a cloud service. It runs on your Mac, Windows, or Linux machine and connects directly to your cloud providers:

  • AWS S3 - buckets and objects, any region
  • Azure Blob Storage - containers and blobs
  • Google Drive - files and folders, including shared drives
  • GoPro Cloud - back up your action footage locally or to any cloud
  • Backblaze B2 - the affordable S3 alternative
  • Dropbox - personal and business accounts
  • Cloudflare R2 - zero-egress object storage
  • Wasabi - hot storage without the cold fees
  • DigitalOcean Spaces - all regions, auto-detected
  • Local Disk - any folder on your machine

Your files never touch a middleman server. Blober streams directly between your machine and the provider APIs. Browse your cloud storage visually, select what you want, pick a destination - done.

If a transfer gets interrupted (bad WiFi, laptop closed, provider hiccup), Blober picks up where it left off. No re-uploading. No duplicate files.

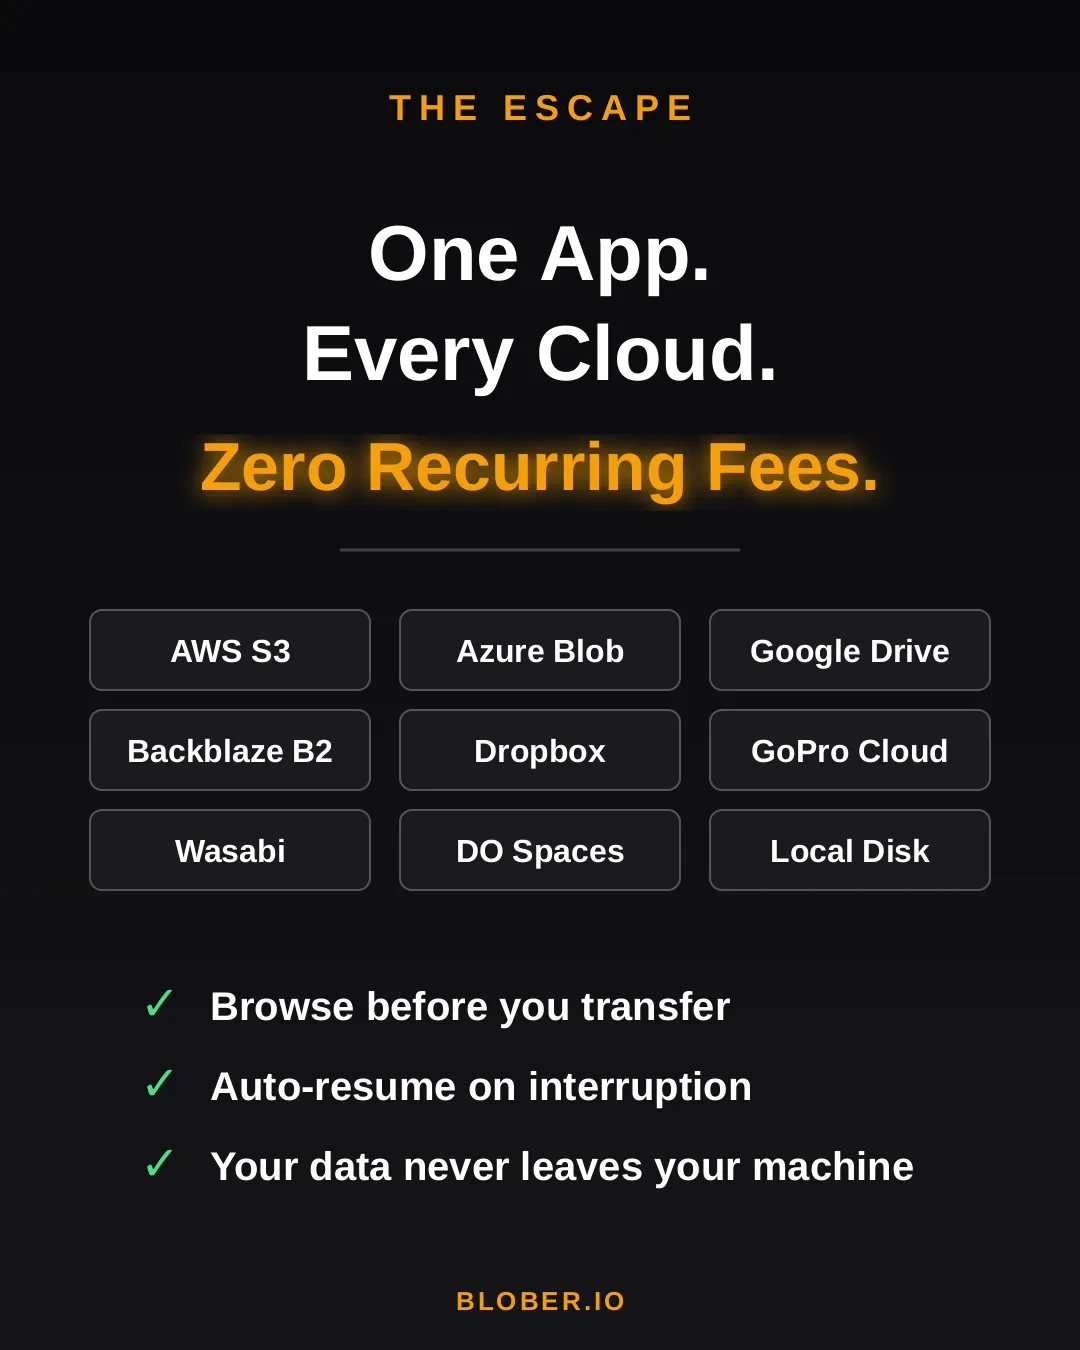
Blober connects many cloud providers in one app: AWS S3, Azure Blob, Google Drive, GoPro Cloud, Backblaze B2, Dropbox, Cloudflare R2, Wasabi, DigitalOcean Spaces, local disk, and more

Here's what switching to Blober actually looks like:

Before: You're juggling browser tabs, CLI sessions, and a spreadsheet tracking which files went where. A SaaS tool emails you that you've hit your 1.2 TB monthly cap. You Google "rclone config azure" for the third time.

After: You open Blober. Connect your accounts. Drag from source to destination. Walk away. It just works.

No internet needed for local-to-local moves. No data ever leaves your machine unless you're sending it to a cloud provider you chose.

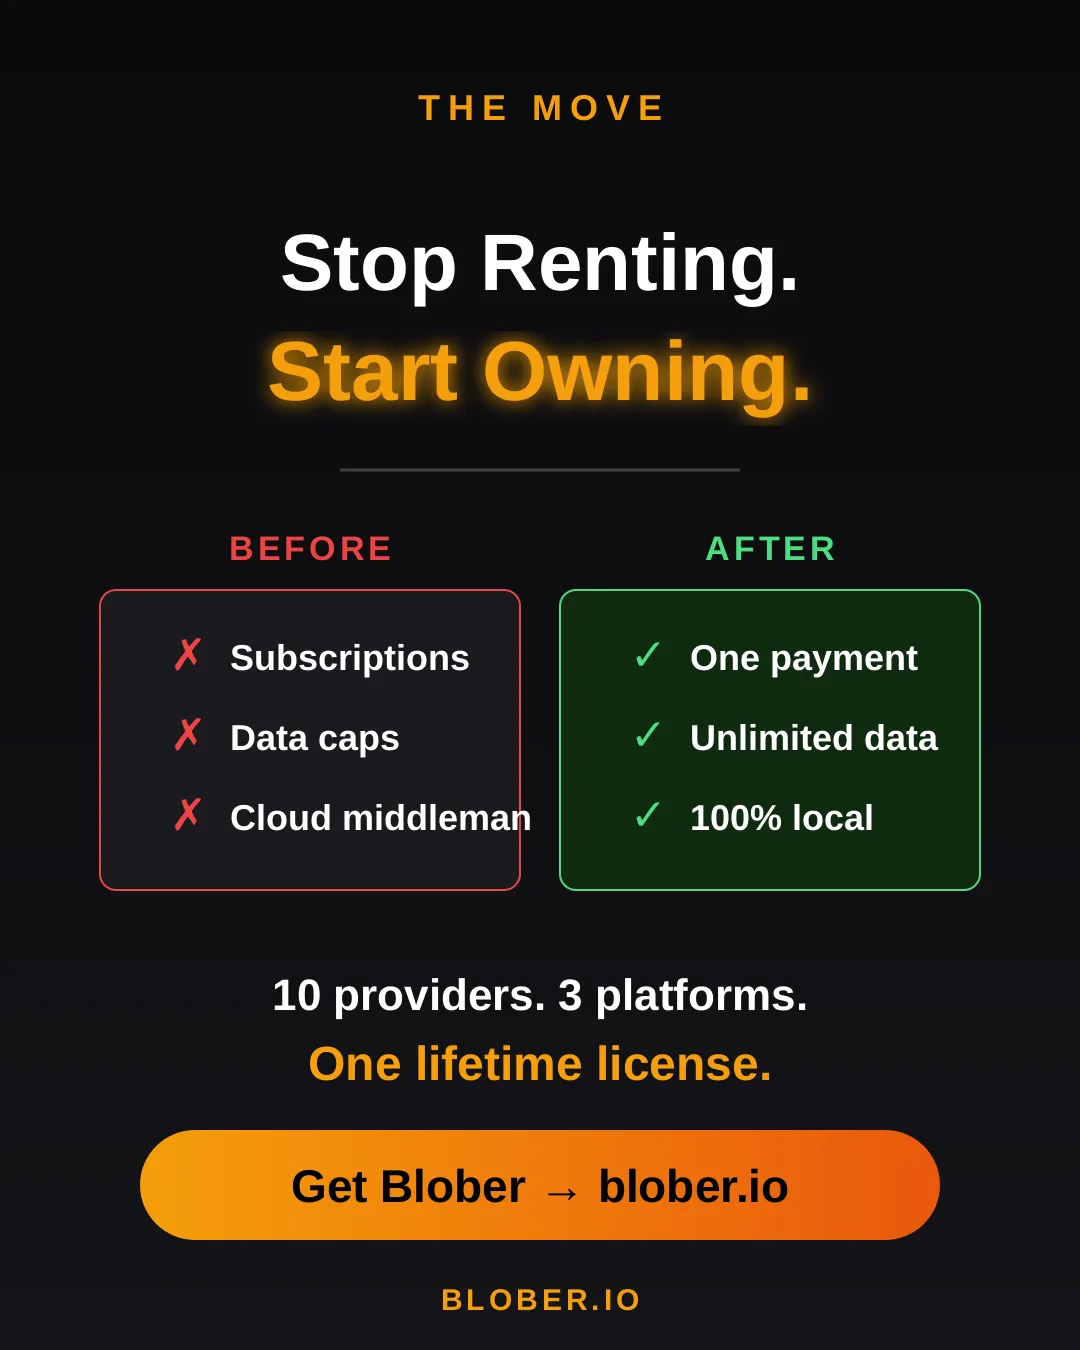
Before and after comparison: monthly subscriptions, data caps, and files routed through servers vs. one-time payment, unlimited transfers, and 100% local execution with Blober
  • Photographers & videographers moving terabytes of footage from GoPro Cloud or Google Drive to cheaper archival storage
  • Developers & DevOps engineers migrating between S3-compatible providers without writing scripts
  • Small businesses consolidating cloud storage without paying an enterprise migration service
  • Privacy-conscious users who want their files transferred directly, not through a third-party cloud
  • Anyone tired of paying monthly fees to tools that move files you already own

Your data. Your machine. Your rules.

One payment. Unlimited transfers. No expiration.

Download Blober => blober.io

What Is Blober? Cloud File Transfer Made Simple

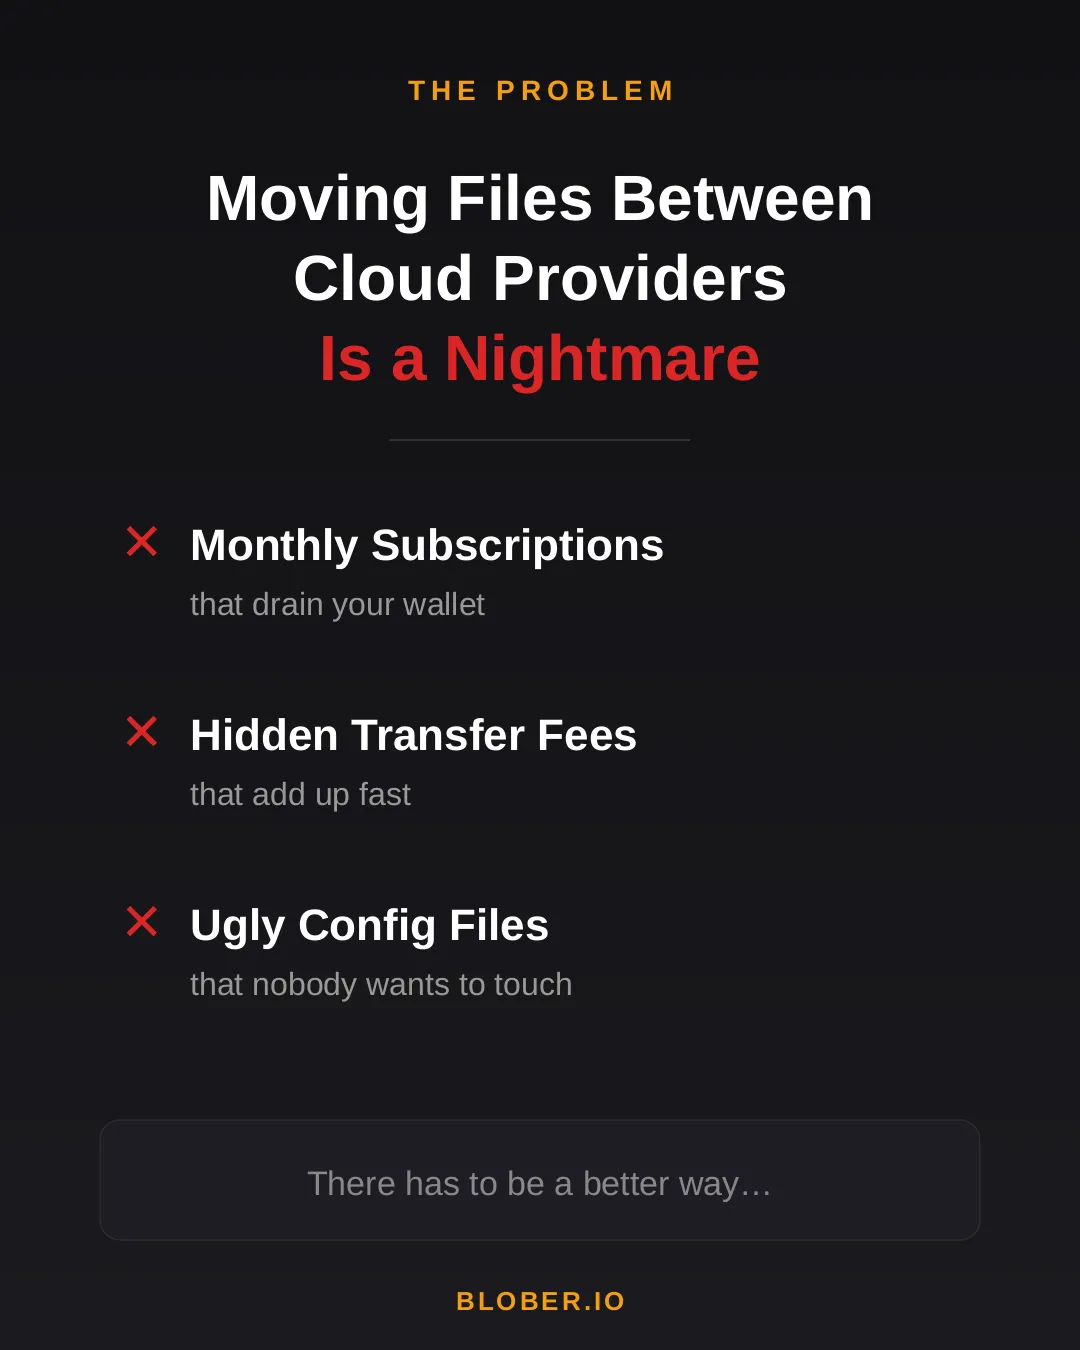
Transferring files between cloud providers today means monthly subscriptions, surprise transfer fees, and wrestling with CLI config files. Most tools are either expensive SaaS platforms or developer-only terminals with steep learning curves.

The problem with moving files between cloud providers - monthly subscriptions, hidden transfer fees, and ugly config files

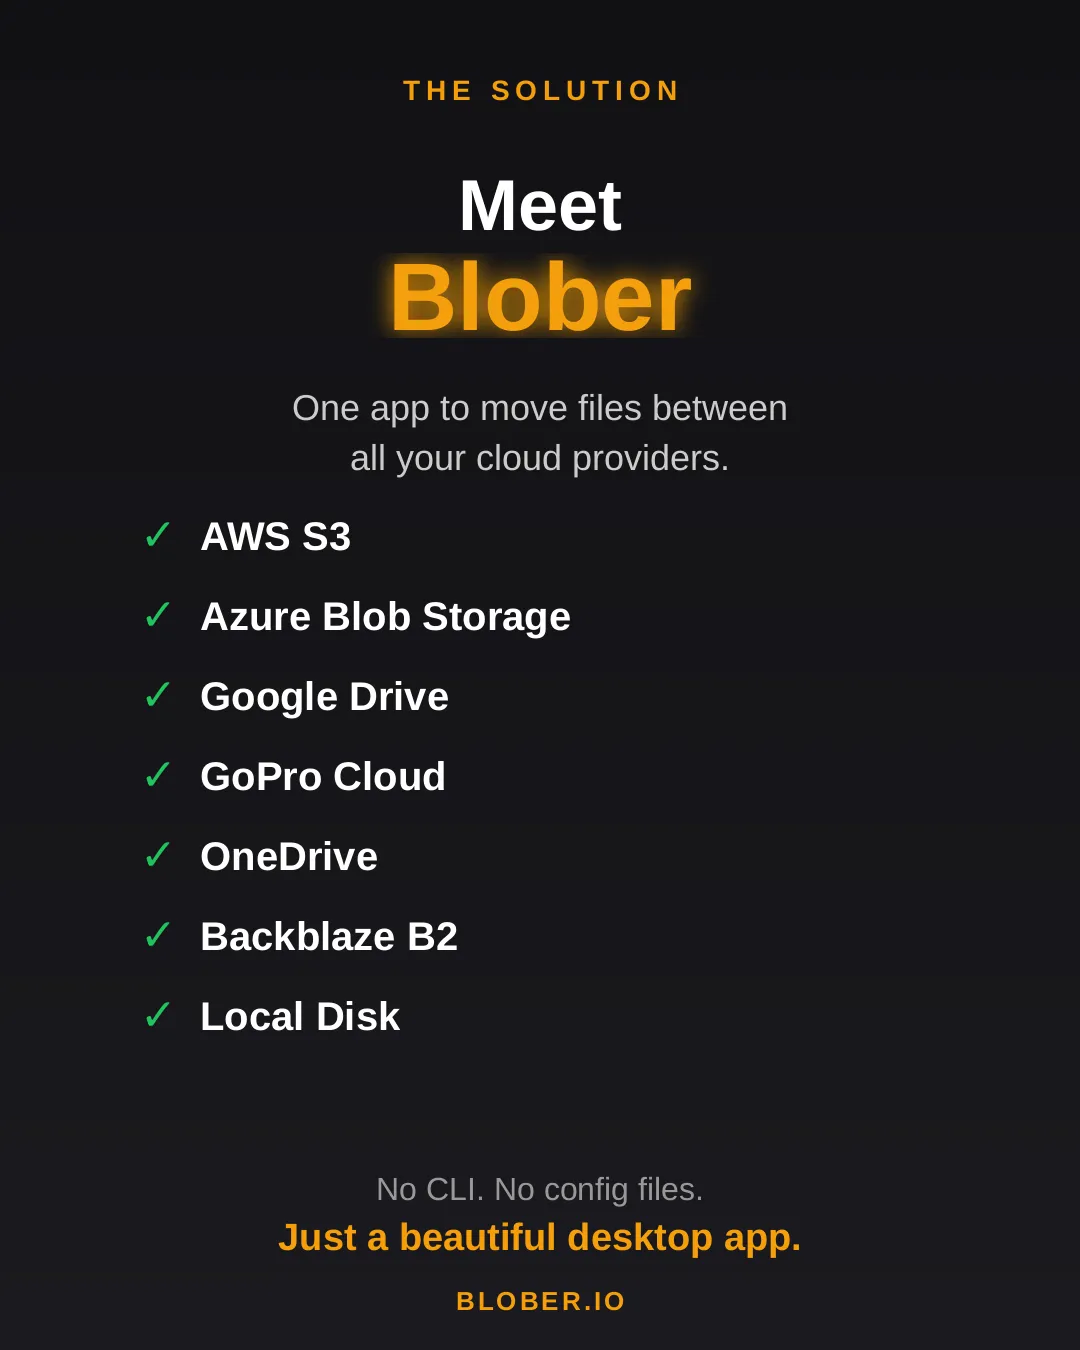
Blober is a desktop app that connects all your cloud storage in one place. AWS S3, Azure Blob Storage, Google Drive, GoPro Cloud, Backblaze B2, Wasabi, local disk, and more - all supported out of the box. No CLI. No config files. Just a beautiful, intuitive interface.

Meet Blober: one app to move files between AWS S3, Azure Blob, Google Drive, GoPro Cloud, Backblaze B2, Wasabi, local disk, and more

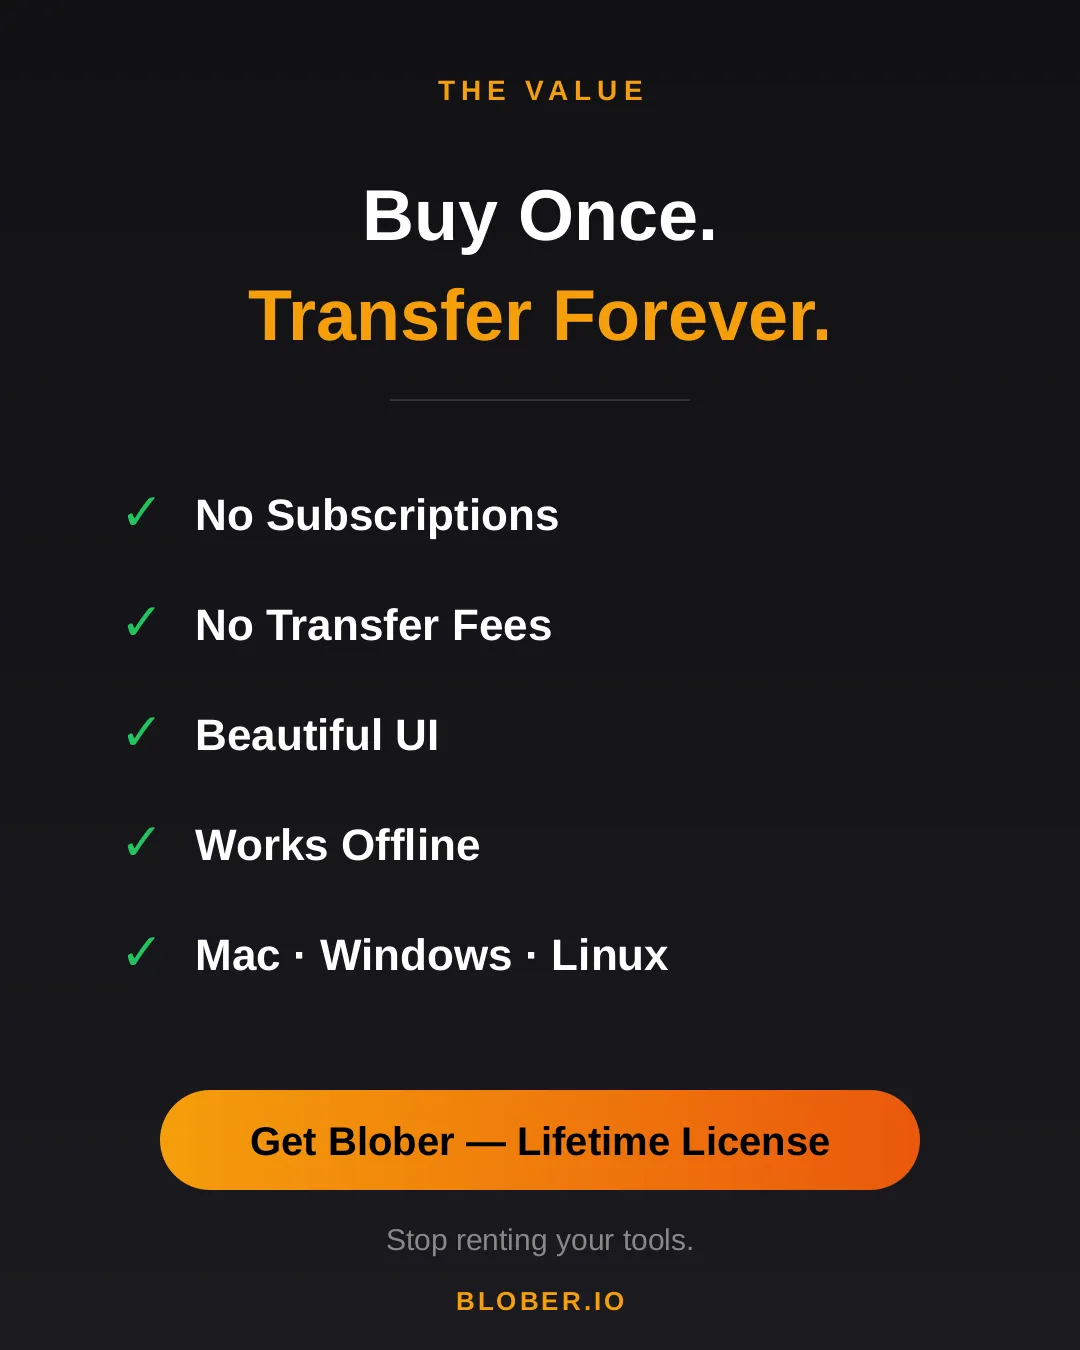
Buy once, transfer forever. No subscriptions. No transfer fees. Blober runs natively on Mac, Windows, and Linux - and it works offline too.

Blober: buy once, transfer forever. No subscriptions, no transfer fees, beautiful UI, works offline, runs on Mac, Windows, and Linux

Stop renting your tools. Download Blober =>