Proton Drive Is Hard to Migrate To or From. Blober Makes It Easy.

The Privacy-First Cloud That Is Awkward to Move Files Into
Section titled "The Privacy-First Cloud That Is Awkward to Move Files Into"Proton Drive is one of the most privacy-respecting cloud storage services you can pick. End-to-end PGP encryption, Swiss jurisdiction, open-source clients, and a zero-access architecture: not even Proton can read your files. Over 100 million accounts trust it[1]. If privacy comes first, Proton Drive is a strong choice.
The catch is that Proton built sync clients, not transfer tools. The apps sync a folder between your device and Proton Drive, which works fine while Proton is your only cloud. The moment you want to pull files in from Google Drive, Dropbox, or S3, or move a Proton library out to cold storage, you are on your own. The official path is to download everything locally and re-upload it. That is fine for a few gigabytes. For 500 GB of photos spread across three Google accounts, it is a weekend you do not get back.
This guide runs through the pain points one by one, with sources, then shows what Blober does about each. It is also honest about when rclone is still the better tool.
Where Proton Drive Is Officially Supported
Section titled "Where Proton Drive Is Officially Supported"Proton offers native clients on four platforms, plus web access:
| Platform | Client | Sync | File Browser | Bulk Transfer From Other Clouds |
|---|---|---|---|---|
| Windows | Desktop app | Folder sync | Via web | No |
| macOS | Desktop app | Folder sync | Via web | No |
| iOS | Mobile app | Photo backup | In-app | No |
| Android | Mobile app | Photo backup | In-app | No |
| Linux | No client | No | Web only | No |
| Web | Browser | No | Yes | No |
Look at the last column. Across every platform, on every client, there is no built-in way to transfer files from another cloud into Proton Drive. You download to your machine first, then let the sync client pick the files up, which means you need enough free local storage to hold everything in transit.
If you are on Linux it is worse: there is no desktop client at all. You get the web interface, which works, but it does not support drag-and-drop bulk uploads from other services either.
The Pain Points, One by One
Section titled "The Pain Points, One by One"1. The official apps are sync clients, not migration tools
Section titled "1. The official apps are sync clients, not migration tools"Proton ships folder-sync apps for Windows and macOS, and photo backup on mobile. None of them can pull files from another cloud. If you want 200 GB of photos from Google Drive inside Proton Drive, the official path is: download everything to your machine, then let the sync client upload it. That needs free local disk equal to your whole library, and it sends every byte over the network twice.
The feature requests confirm the gap. Proton's own UserVoice has long-running requests for exactly this, including "Easy Switch for Google Photos" and a post titled "To switch from Google Photos, Proton drive is not the deal"[2].
2. Google Photos import means Takeout, and the desktop import is Windows-only
Section titled "2. Google Photos import means Takeout, and the desktop import is Windows-only"Proton's official "How to import from Google Photos into Proton Drive" guide[3] is a Takeout pipeline: export from Google Takeout, wait for the email link, download the zips, unzip them, then import the folder in the web app or the Windows desktop app.
Three things make this painful:
- It depends on Takeout. Google prepares the archive in the background, which "may take a while," and the download link expires after a week[4].
- The desktop import is Windows-only. The September 2025 announcement that "Google Photos import now supported on Drive for Windows" notes "Photo import support for macOS is coming soon"[5]. On a Mac you are left with the web drag-and-drop path.
- Takeout scatters albums. Proton's own guide warns: "Google Takeout splits large exports into multiple parts, but it may not keep photos from the same year in the same part. As a result, photos from the same time period may end up scattered across different folders"[6]. Users then reorganize by year by hand to get clean albums.
3. rclone's Proton Drive support is Tier 4
Section titled "3. rclone's Proton Drive support is Tier 4"rclone is the standard open-source answer, and its Proton Drive backend works, with caveats worth knowing before you trust a library to it. The rclone docs are explicit:
- The backend "is currently in Beta" and is rated Tier 4, rclone's lowest support tier[7].
- Modification times are not preserved: "Proton Drive Bridge does not support updating modification times yet"[8].
- Setup puts your password in a config file. Config asks for username, password, 2FA, and optionally your OTP secret and mailbox password[9].
- The underlying library is honest about risk: "There are likely quite a few errors in this library, as there isn't official documentation available"[10].
- Caching goes stale with concurrent clients: "if there are concurrent clients accessing the same mount point, then we might have a problem with caching the stale data"[11].
4. There is no full Linux desktop client
Section titled "4. There is no full Linux desktop client"As of 2026 Proton has no full-featured Linux desktop sync client. The June 2026 Proton Drive CLI announcement says a "full-featured desktop client with sync is on its way"[12], and the engine-rebuild post confirms Proton is "actively building one of the community's most-requested features: the Proton Drive client for Linux"[13]. Until then, Linux users get the CLI, which is not a drop-in replacement. Proton's own words: "only the applications include a full synchronization engine that runs in the background"[14].
5. The iOS Files integration is temporarily gone
Section titled "5. The iOS Files integration is temporarily gone"Proton removed its iOS Files (File Provider) integration and is rebuilding it. A June 2026 post by Proton's iOS lead explains the constraint: the extension runs in a sandboxed process capped at roughly 20 MB of memory, and Proton is reworking its SDK to fit. Proton says "we'd be surprised if this isn't resolved within the year"[15]. In the meantime, iOS users cannot browse their whole Proton Drive from the Files app.
6. Docs and Sheets are rough for power users
Section titled "6. Docs and Sheets are rough for power users"Proton Docs and Sheets are improving, but community feedback is candid. A top r/ProtonDrive post is titled "As Always Proton Sheet is Buggy and Proton Docs is slow to add feature!" and reports Sheets freezing on large datasets and missing document features like shapes[16]. Other recent complaints include spreadsheet tab ordering reverting on reopen and no PDF export from Sheets. This matters if you are planning to move a heavy Google Workspace workflow over to Proton.
What About rclone?
Section titled "What About rclone?"rclone is the canonical open-source tool for cloud storage. It supports 70+ backends and is genuinely excellent at what it does, and its Proton Drive backend works, with the caveats listed above. If you are already in the rclone ecosystem and those tradeoffs fit, rclone is a perfectly good option. Blober is a different style of tool for a different style of user, and the rest of this article is about that.
How Blober Handles Proton Drive Differently
Section titled "How Blober Handles Proton Drive Differently"Blober takes a different approach: instead of asking for your credentials in a config file, it asks Proton for them.
You just log in. Normally.
Section titled "You just log in. Normally."When you connect Proton Drive in Blober, a browser window opens to Proton's own login page. You sign in with your email, password, and 2FA exactly as you would in any browser. There is no config file with credentials on disk, and nothing to type into a CLI. The provider guide covers how Proton Drive login works in Blober.
What Blober supports with Proton Drive
Section titled "What Blober supports with Proton Drive"| Operation | Supported | Details |
|---|---|---|
| Browse | Yes | Navigate your full folder tree |
| Download | Yes | Parallel, resumable downloads |
| Upload | Yes | Parallel uploads, auto-creates folders |
| Delete | Yes | Moves to Proton Trash (recoverable) |
| Metadata | Yes | Filename, size, created and modified dates |
| Multiple accounts | Yes | Each account gets its own session; run transfers in parallel |
What Blober does that Proton's client can't
Section titled "What Blober does that Proton's client can't"- Transfer from any supported provider directly to Proton Drive. Google Drive, Dropbox, AWS S3, Azure Blob, Backblaze B2, Cloudflare R2, DigitalOcean Spaces, Wasabi, Rabata, GoPro Cloud, local disk. No intermediate downloads.
- Transfer from Proton Drive to any other provider. Moving away from Proton, or shifting a subset to cold storage on Backblaze? Blober handles it.
- Selective file transfer. Browse the source, pick exactly the files you want, transfer only those. Not a full sync of everything.
- Saved workflows. Set up "Dropbox to Proton Drive" once and run it whenever you want. The workflow remembers source path, destination path, filters, and file naming templates.
- Runs on Linux. Blober works on Windows, macOS, and Linux. Since Proton does not ship a Linux desktop client, Blober is one of the few ways to get a desktop-native Proton Drive experience on Linux without a browser.
- Resumable transfers. If your session expires mid-transfer, Blober prompts you to sign in again and picks up where it left off. No files are lost or duplicated.
One detail matters for Google Photos specifically. Blober lists your library chronologically and keeps each photo's capture date, so a transfer lands in date-based folders. It does not recreate Google Photos albums as Proton albums, because Google provides no API for that kind of access. See How to Move Google Photos to Proton Drive.
The Migration Scenario
Section titled "The Migration Scenario"Here is the situation Blober is built for.
You are on Google Drive or Dropbox, you have decided to move to Proton Drive for privacy, and you have 200 GB of documents and photos spread across folders. Today your options are:
Option A: Manual download and re-upload
- Download 200 GB from Google Drive to your machine (hours, needs free disk space)
- Wait for the Proton Drive sync client to upload it all (hours more; encryption is CPU-heavy)
- Repeat for Dropbox
- Hope nothing failed silently
Option B: Google Takeout plus manual upload
- Request a Takeout archive (can take days)
- Download the archive(s)
- Extract, organize, upload to Proton Drive
- Storage used: 3x (source cloud + local archive + Proton)
Option C: rclone
- Run
rclone configand set up your Google/Dropbox and Proton remotes - Provide your Proton credentials when prompted
- Run
rclone copy gdrive: protondrive:with the flags that fit your scenario - Drive everything from the CLI, including monitoring and restarts
Option D: Blober
- Sign in to Google Drive (OAuth) or Dropbox (OAuth)
- Sign in to Proton Drive (browser login)
- Select the files you want
- Start the transfer, then re-run the same workflow whenever you need to
Blober vs rclone for Proton Drive: Side by Side
Section titled "Blober vs rclone for Proton Drive: Side by Side"| Blober | rclone | |
|---|---|---|
| Auth method | Browser login on Proton's own page | Credentials in rclone config |
| Interface | Native desktop GUI | CLI |
| Resume on failure | Automatic | Manual restart |
| Linux | Native desktop app | CLI |
| Cross-provider transfer | Built-in (pick source and destination) | rclone copy source: dest: |
| Multiple Proton accounts | Each one its own session | Separate config remotes |
| Scriptable automation | Saved workflows | Cron-friendly CLI |
| Mount as filesystem | Not supported | Supported (FUSE) |
A note on modification times, because rclone's Proton backend does not preserve them at all. Blober reads source timestamps for metadata and naming. If preserving exact modification times on Proton is a hard requirement for you, verify it on your own transfer before committing a large library.
Who Should Use Which
Section titled "Who Should Use Which"Blober is a good fit if:
- You are migrating into Proton Drive from Google Drive, Dropbox, or another cloud
- You are moving out of Proton Drive, or shifting a subset to cold storage
- You are on Linux and want a desktop-native way to manage Proton Drive files
- You would rather log in through a browser than configure credentials in a file
- You want a repeatable, named workflow you can re-run later
rclone is a good fit if:
- You are already in the rclone ecosystem and want one tool for everything
- You need scriptable, cron-based automation
- You want to mount Proton Drive as a filesystem (FUSE)
- You prefer CLI control over a GUI
Frequently Asked Questions
Section titled "Frequently Asked Questions"Is rclone safe to use with Proton Drive? It works, but treat it as experimental. rclone rates the backend Tier 4, calls it "in Beta," and notes the bridge library "likely" has errors[17]. Modification times are not preserved, and setup stores your Proton password and 2FA secret in the rclone config file.
Why can't I import Google Photos to Proton Drive on my Mac? Proton's Google Photos import is Windows-only as of 2026; the announcement says macOS support "is coming soon"[18]. On macOS you are limited to the web drag-and-drop path, which still needs a Takeout export first.
Does Proton Drive work on Linux? Partially. Proton ships a CLI for Linux and is building a full desktop client[19]. There is no official GUI sync client for Linux today. Blober runs natively on Linux and provides one.
Does Blober store my Proton password? No. Blober opens Proton's own login page in a browser window. You sign in there, exactly as you would on drive.proton.me, and your password never passes through Blober.
Is Blober a sync tool? No. Blober is a transfer tool. It moves a selected set of files from one provider to another and stops. Nothing runs in the background and overwrites files, unlike a sync client.
Where do my Google Photos land when I move them with Blober? In Proton Drive's folder tree, organized by each photo's capture date. Blober lists Google Photos chronologically and does not recreate Google Photos albums. If you want the Proton Photos timeline and album view instead, Proton's official Google Photos import (Windows-only) is the supported route, and it sorts imported photos into albums from the folder structure. See How to Move Google Photos to Proton Drive.
Related Guides
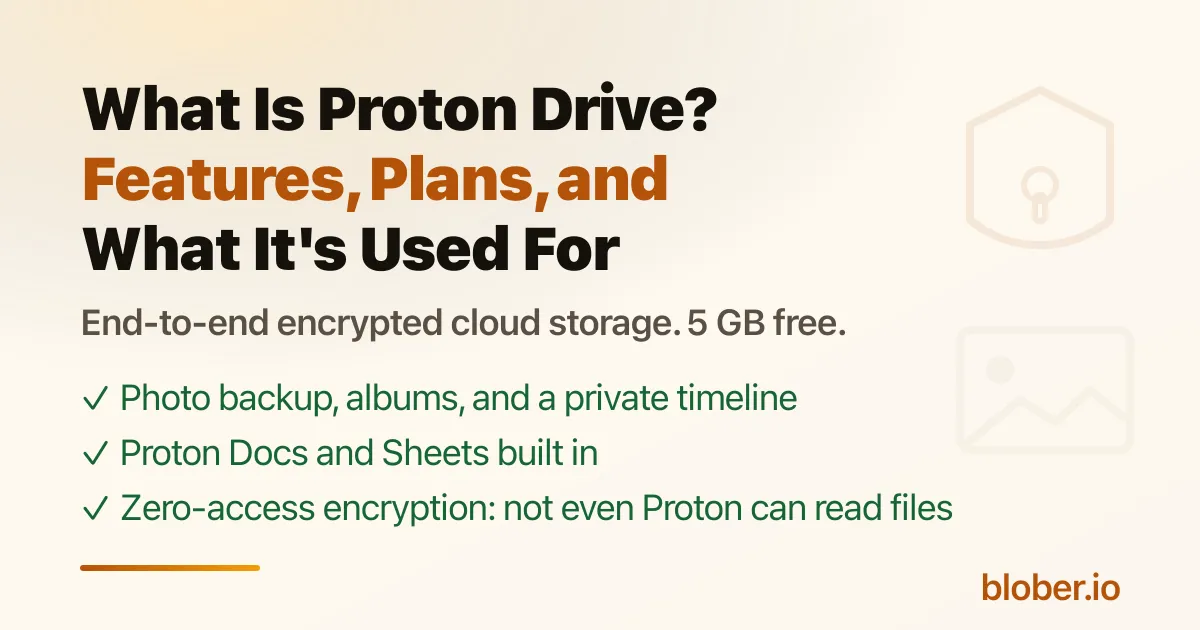
Section titled "Related Guides"- What Is Proton Drive? Features, Plans, and What It's Used For
- How to Move Google Photos to Proton Drive
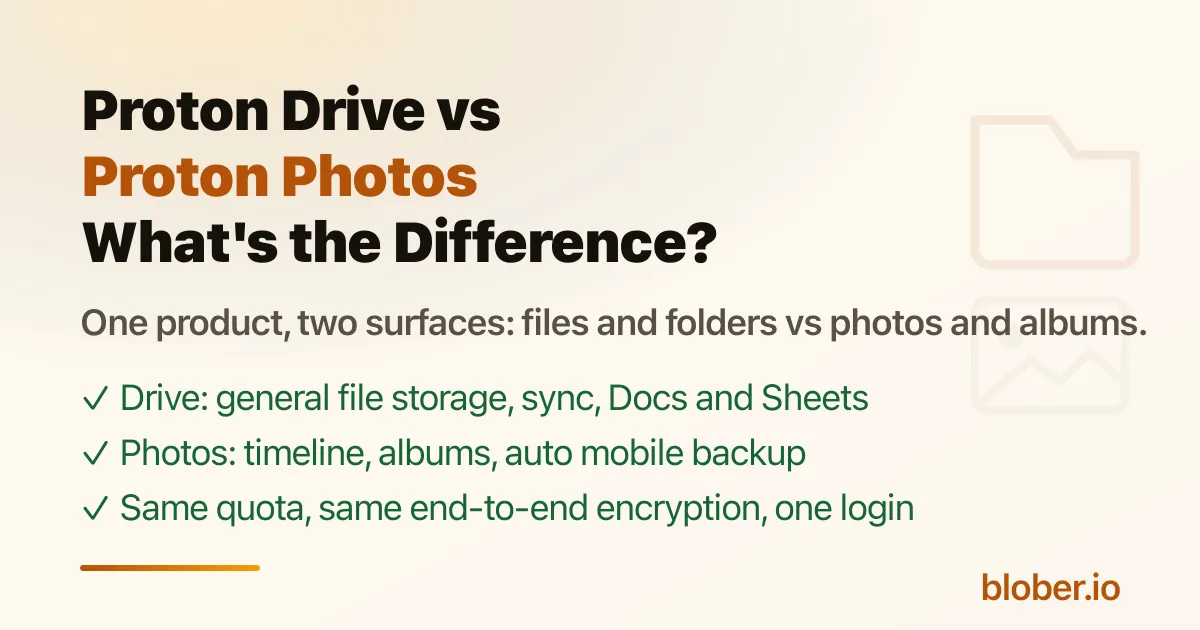
- Proton Drive vs Proton Photos: What's the Difference?
- Server-to-Server vs Download-and-Reupload
Get Blober
Section titled "Get Blober"Move a Proton Drive library in or out without filling your disk. Blober signs you into Proton through Proton's own login page, then transfers to or from 20+ providers with parallel, resumable transfers. Runs on Windows, macOS, and Linux.