How to Move GoPro Cloud Media to Dropbox the Easy Way
Why Move Your GoPro Footage to Dropbox?
Section titled “Why Move Your GoPro Footage to Dropbox?”GoPro Cloud (included with GoPro Plus / GoPro Premium) stores your camera footage automatically. It’s convenient, until you need to actually do something with it.
The problems with keeping everything in GoPro Cloud:
- No easy bulk export. GoPro’s web portal limits batch downloads to 25 files at a time, bundled as a ZIP. Large downloads frequently fail or time out.
- No third-party integrations. No other file transfer tool (rclone, MultCloud, Flexify) can connect to GoPro Cloud. You’re stuck with the GoPro web interface.
- Subscription lock-in. Cancel GoPro Plus and you lose access to your footage. Your media is held hostage by a recurring charge.
- No redundancy. If GoPro changes their cloud offering or shuts it down, you have no backup unless you’ve already downloaded everything manually.
Why Dropbox makes a good destination:
- Accessible everywhere. Desktop, mobile, web. Dropbox works across all devices.
- Selective sync. Keep large video files in the cloud and only download what you need locally.
- Sharing built in. Send footage to clients, collaborators, or editors with a link.
- Established and reliable. Dropbox has been around since 2007 and isn’t going anywhere.
- Integration with editing tools. Many video editors and photo apps integrate directly with Dropbox.
Moving your footage from GoPro Cloud to Dropbox gives you a second copy in a provider you control, one that doesn’t depend on a GoPro subscription to access.
How Blober Makes It Easy
Section titled “How Blober Makes It Easy”Blober is the only desktop app that connects directly to GoPro Cloud. No browser extensions, no manual downloads, no CLI config files. You create a workflow, press play, and your media transfers automatically.
Step 1: Create a Workflow
Section titled “Step 1: Create a Workflow”Open Blober, go to the Workflows page, and click New Workflow. Select GoPro as the source and Dropbox as the destination. Pick the folders you want to transfer from and where they should land.

Step 2: Run It
Section titled “Step 2: Run It”Click the play button on your workflow. Blober connects to both providers and starts transferring files immediately. Every file (photos, videos, time-lapses) gets moved directly from GoPro Cloud to Dropbox without touching your local disk first (unless you want it to).
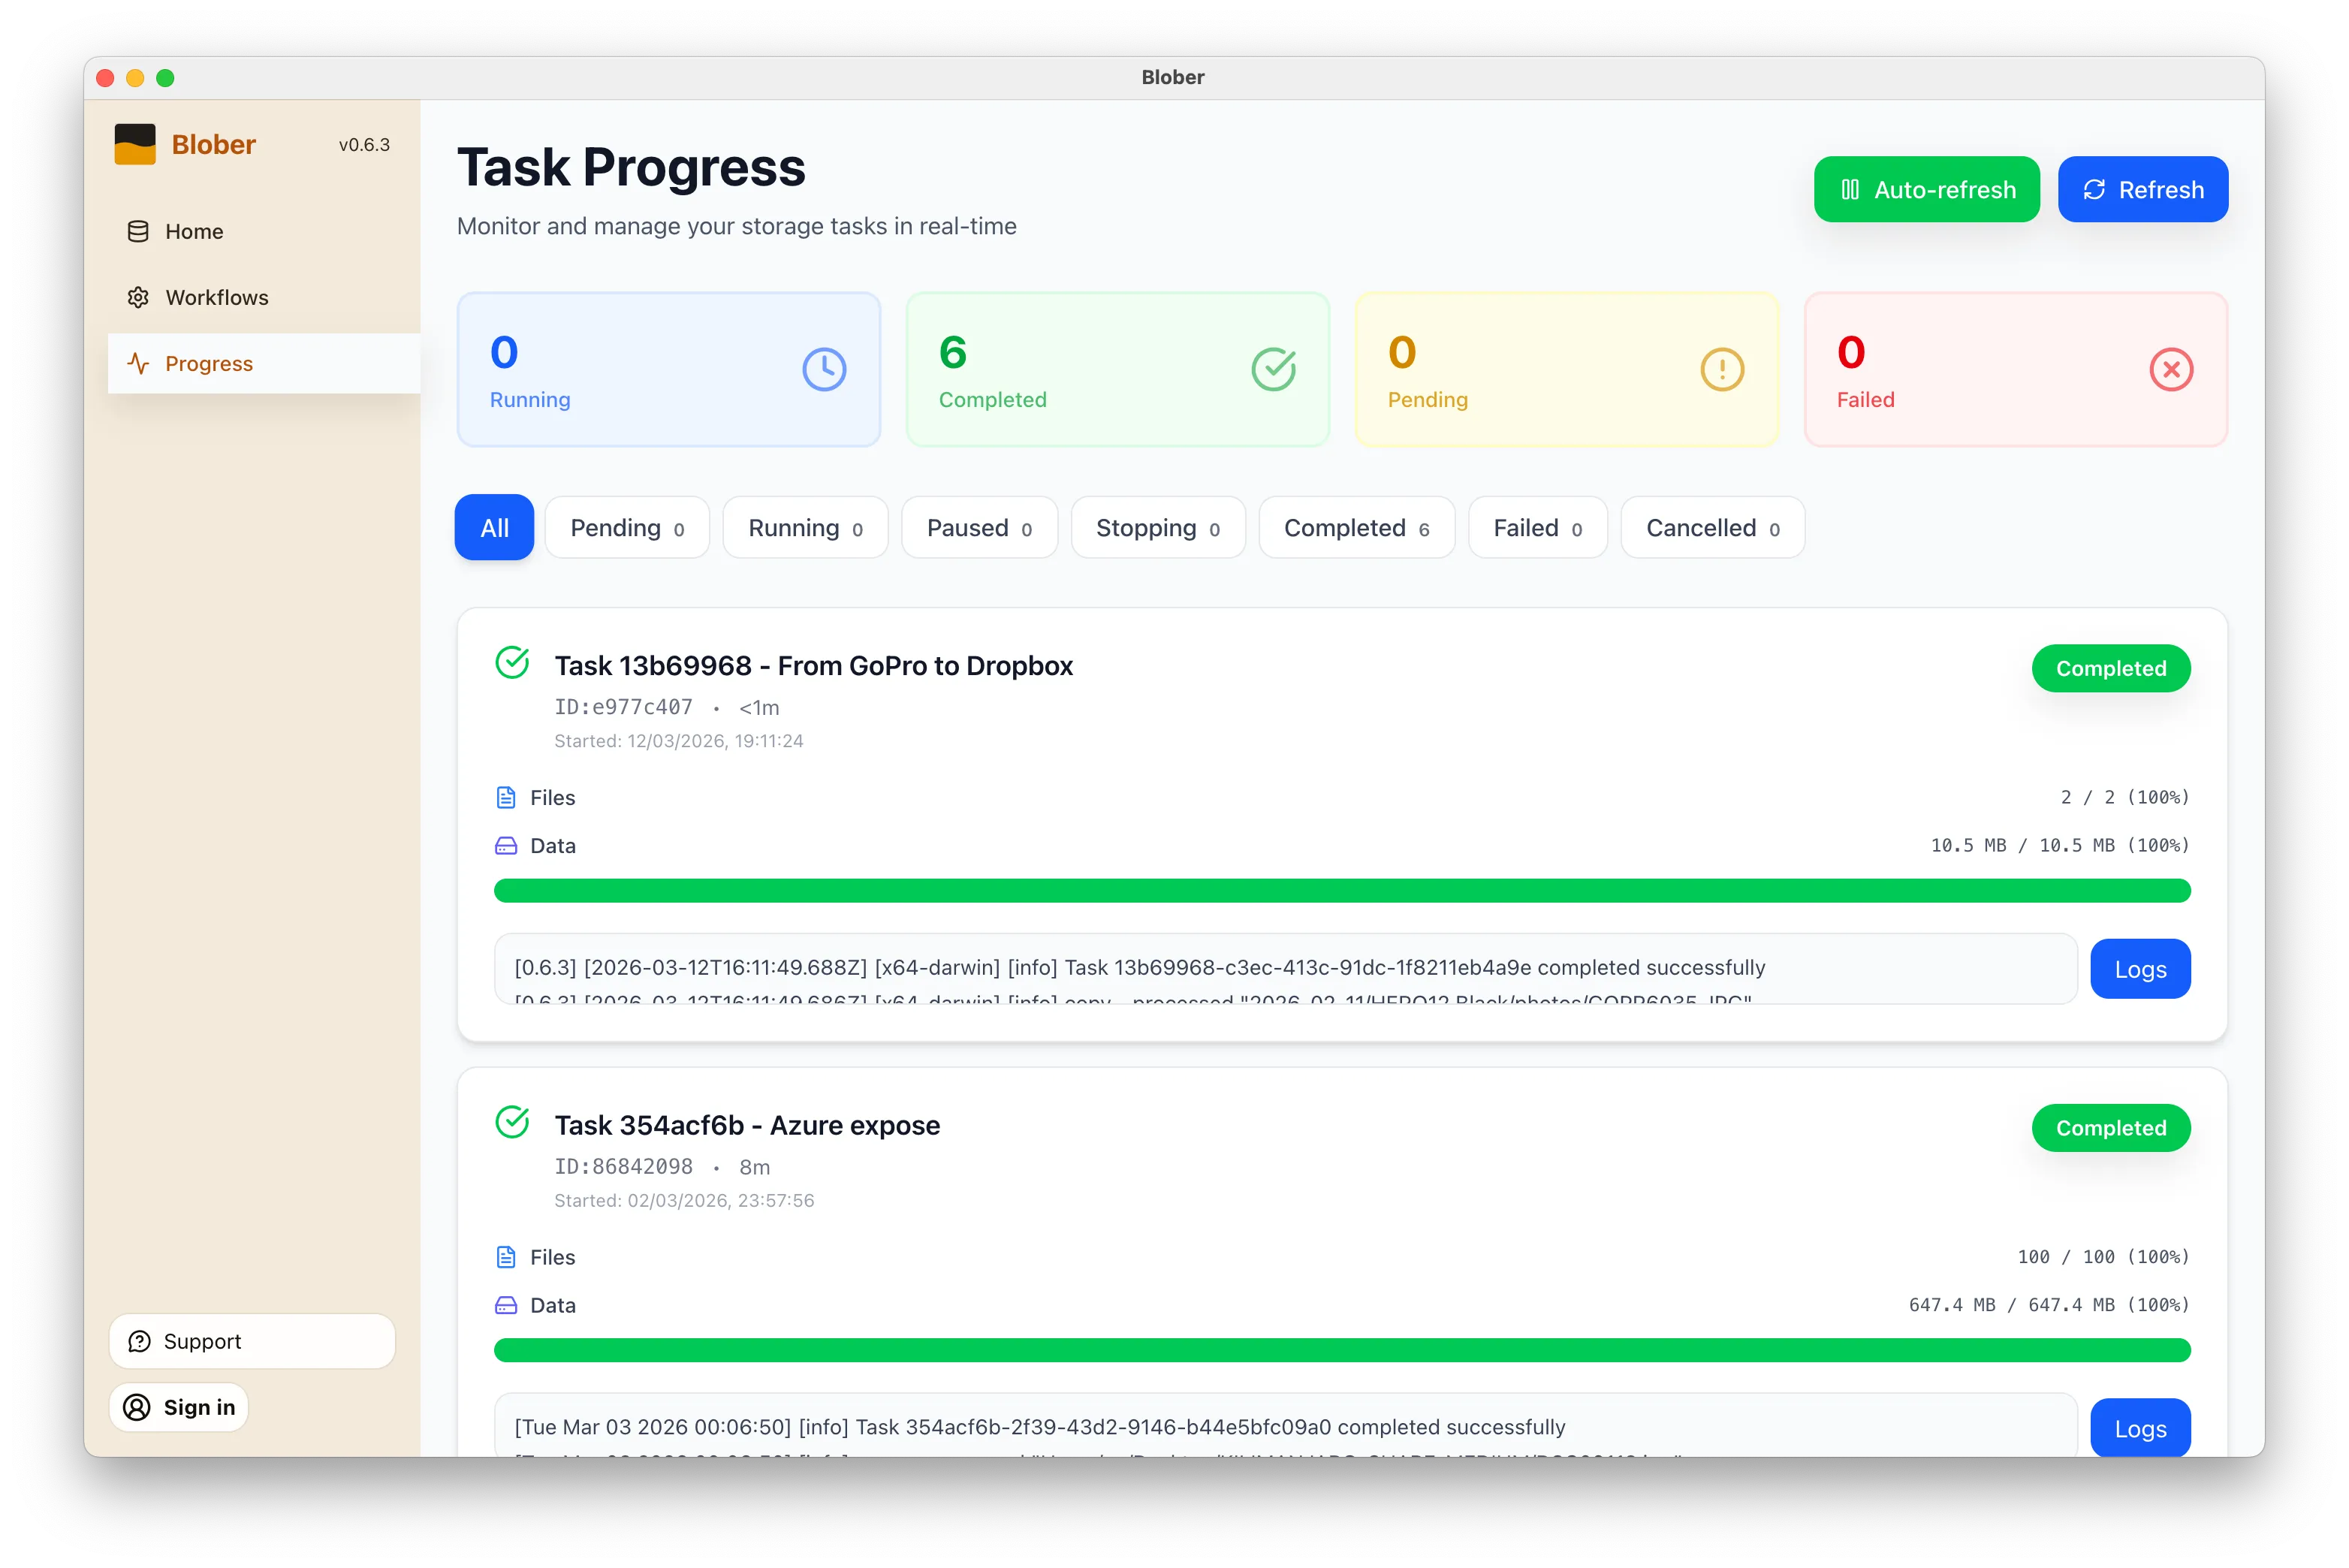
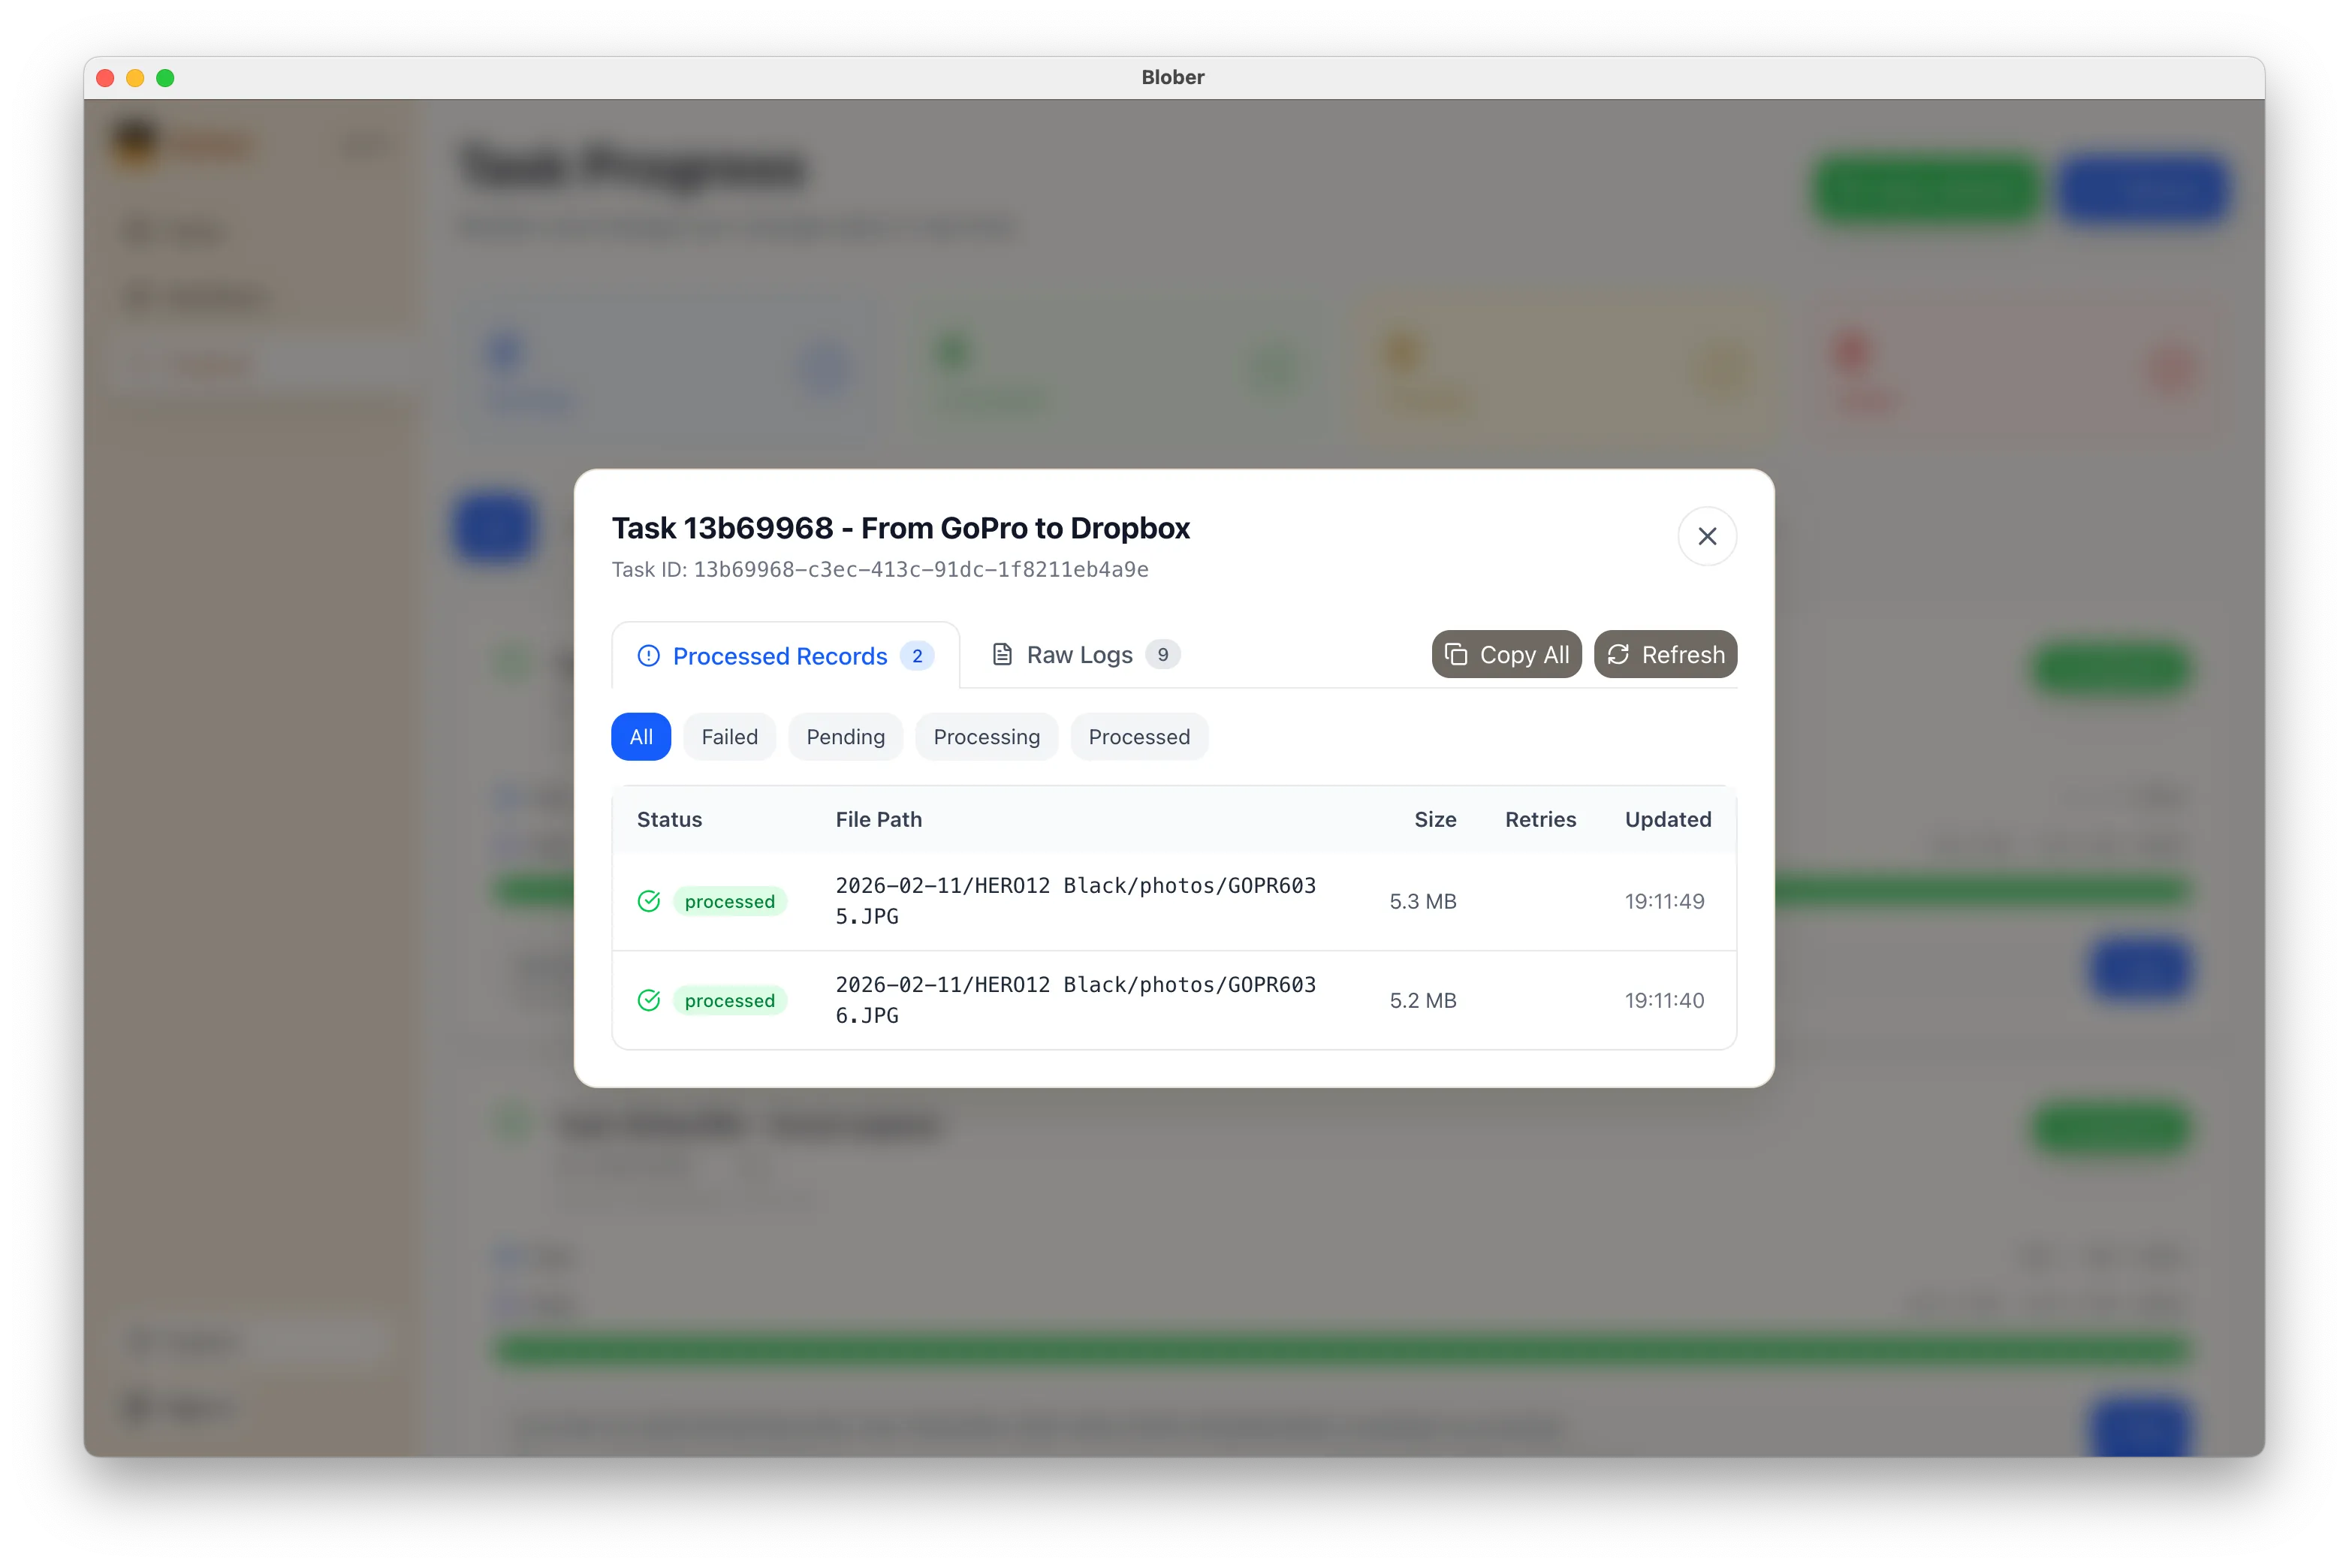
Step 3: Monitor Progress
Section titled “Step 3: Monitor Progress”The Progress page shows exactly what’s happening: files transferred, bytes moved, current speed, and estimated time remaining. If something goes wrong, you can pause, retry, or cancel at any time.
What Makes This Different
Section titled “What Makes This Different”- No manual work. You don’t download ZIPs, unzip them, then re-upload to Dropbox. Blober handles the entire pipeline.
- No file limits. Transfer 10 files or 10,000. Blober processes them all in one run.
- No subscription. Blober is a one-time purchase. No monthly fees, no per-GB transfer charges, no limits on how many times you run a workflow.
- Runs locally. Your credentials stay on your machine. Files transfer directly between providers. Nothing passes through Blober’s servers.
When to Use This
Section titled “When to Use This”- Before canceling GoPro Plus. Get your footage out before you lose access.
- Regular backups. Set up a workflow now and run it whenever you want a fresh copy in Dropbox.
- Switching providers. Moving off GoPro Cloud entirely? Transfer everything to Dropbox first, then cancel.
- Sharing with a team. Put footage in a shared Dropbox folder so editors and collaborators can access it immediately.
Get Started
Section titled “Get Started”- Download Blober (available for macOS, Windows, and Linux)
- Connect your GoPro and Dropbox accounts
- Create a workflow and press play
That’s it. Your GoPro footage in Dropbox in minutes, not hours.